Introduction to Homemade Choco Tacos
A nostalgic treat that brings joy
If you grew up in the ’90s, it’s likely that Choco Tacos hold a special place in your heart. This sweet, crunchy, and creamy treat is not just dessert; it’s a blast from the past that evokes fond memories of summer days, ice cream trucks, and carefree childhood adventures. Whether you enjoyed one during a family outing or snagged one from the convenience store after school, the indulgence of a Choco Taco is a universally cherished experience.
Creating your own homemade Choco tacos can bring back that nostalgic joy, plus it offers a chance to customize flavors and ingredients to your own taste. You can make this treat with whatever ice cream filling you prefer, tailoring it to your palate. Want to take a leap into creativity? Add some unique flavors, or even mix in your favorite toppings! The possibilities are endless.
Why try making Choco Tacos at home?
Making homemade Choco tacos is not only fun; it’s also relatively simple. You might wonder, “Why should I invest time in making these when I can just buy them?” Well, here are a few reasons to inspire you:
-
Customization: When you make them at home, you control the ingredients. Want a dairy-free version? Go for it! Prefer a more decadent chocolate shell? The choice is yours.
-
Freshness: There’s something unmistakably delightful about homemade treats. You can enjoy the flavors at their peak, creating an experience that store-bought versions simply can’t match.
-
Quality: By making your own, you can use high-quality ingredients. This not only elevates the dish but also gives you peace of mind about what you’re eating.
-
Fun activity: Whether you’re doing it solo or as a family activity, making Choco tacos can be a fun way to bond. Have a little contest to see who can create the unique flavor!
So, if you’re ready to channel your inner child and get a little creative in the kitchen, let’s dive into the delightful world of homemade Choco tacos. It’s time to relive those fond memories—and create some new ones along the way. If you’d like to learn more about the benefits of cooking at home, check out articles on sites like The Kitchn or Serious Eats.
Ingredients for Homemade Choco Tacos
Creating homemade choco tacos is an exciting adventure in the kitchen! Let’s break down the essential ingredients you’ll need to whip up this irresistible treat.
Ice Cream Base Ingredients
- 2 cups heavy whipping cream
- 1 cup sweetened condensed milk
- 1 teaspoon vanilla extract
This creamy base is the heart of your choco tacos. The sweetened condensed milk gives it that extra smoothness, creating the perfect scoop.
Fudge Ripple Ingredients
- 1 cup chocolate syrup
- 1/2 cup heavy cream
A rich fudge ripple takes your ice cream experience to the next level. You can also experiment with different flavors like caramel or butterscotch for a unique twist.
Waffle Cone Ingredients
- 1 cup all-purpose flour
- 1/3 cup granulated sugar
- 1/4 cup unsalted butter (melted)
- 2 eggs
- 1/2 teaspoon vanilla extract
Crafting your own waffle cones not only makes your homemade choco tacos delicious but adds that personal touch.
Coating Ingredients
- 1 cup chocolate chips
- 1 tablespoon coconut oil
This coating is essential for that crunch factor! The combination of chocolate and coconut oil ensures a smooth, glossy finish that hardens perfectly around your dessert.
Now that you have all these ingredients, you’re just steps away from creating the perfect homemade choco tacos! Have fun with it, and don’t hesitate to tweak the ingredients to suit your taste. Want to dive deeper into waffle cone techniques? Check out this great resource for tips!
Preparing Homemade Choco Tacos
Making your own homemade Choco tacos is more than just a tasty endeavor; it’s a fun project that brings out your creativity in the kitchen! Let’s dive into the steps that will guide you through crafting these delicious treats from scratch.
Make the fudge sauce for the ripple
Start by creating a rich fudge sauce that will provide the indulgent ripple in your Choco tacos. Here’s how:
- Ingredients you’ll need:
- 1 cup of semi-sweet chocolate chips
- ½ cup of heavy cream
- 2 tablespoons of butter
- 1 teaspoon of vanilla extract
In a small saucepan over medium heat, combine the chocolate chips and heavy cream. Stir gently until the chocolate melts and the mixture is smooth. Once melted, remove from heat and stir in the butter and vanilla extract. Set this decadent fudge sauce aside to cool, allowing it to thicken slightly.
If you want to try different variations, consider adding a pinch of sea salt for some complexity, or even a dash of espresso powder to intensify the chocolate flavor. Experts say that using high-quality chocolate can make a significant difference in the final taste, so choose wisely!
Prepare the ice cream base
While your fudge is cooling, it’s time to whip up a luscious ice cream base. You can use a store-bought variety or make your own, following this simple recipe:
- Ingredients for homemade ice cream:
- 2 cups of heavy cream
- 1 cup of whole milk
- ¾ cup of granulated sugar
- 1 tablespoon of vanilla extract
In a mixing bowl, whisk together the cream, milk, sugar, and vanilla extract until the sugar dissolves. If you’re considering making your ice cream unique, try adding different mix-ins—crushed nuts, caramel swirls, or even some crushed cookies can elevate your experience.
Once your mixture is ready, you can churn it in an ice cream maker according to the manufacturer’s instructions. This step is crucial, as it helps incorporate air for a light and creamy texture.
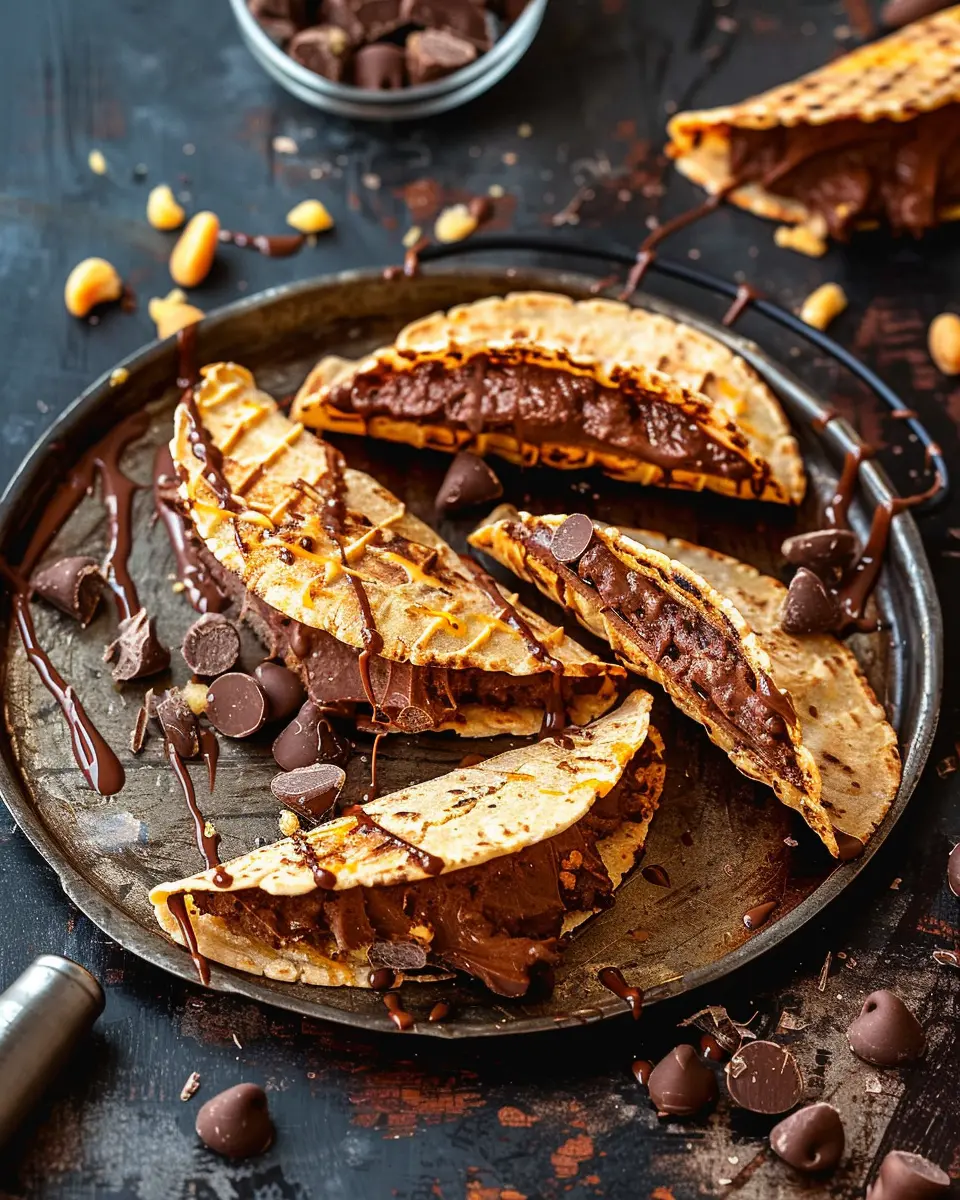
Layer the ice cream and fudge
Now comes the fun part! You’ll want to layer the prepared ice cream and fudge sauce in a mold or taco-shaped container.
- Steps for layering:
- Start with a layer of ice cream, filling the container halfway.
- Drizzle some of the fudge sauce over the ice cream.
- Add another layer of ice cream, then top with more fudge sauce.
- Finish with a final layer of ice cream.
Make sure to use an offset spatula to smooth each layer down, ensuring that you have an even foundation for your homemade Choco tacos.
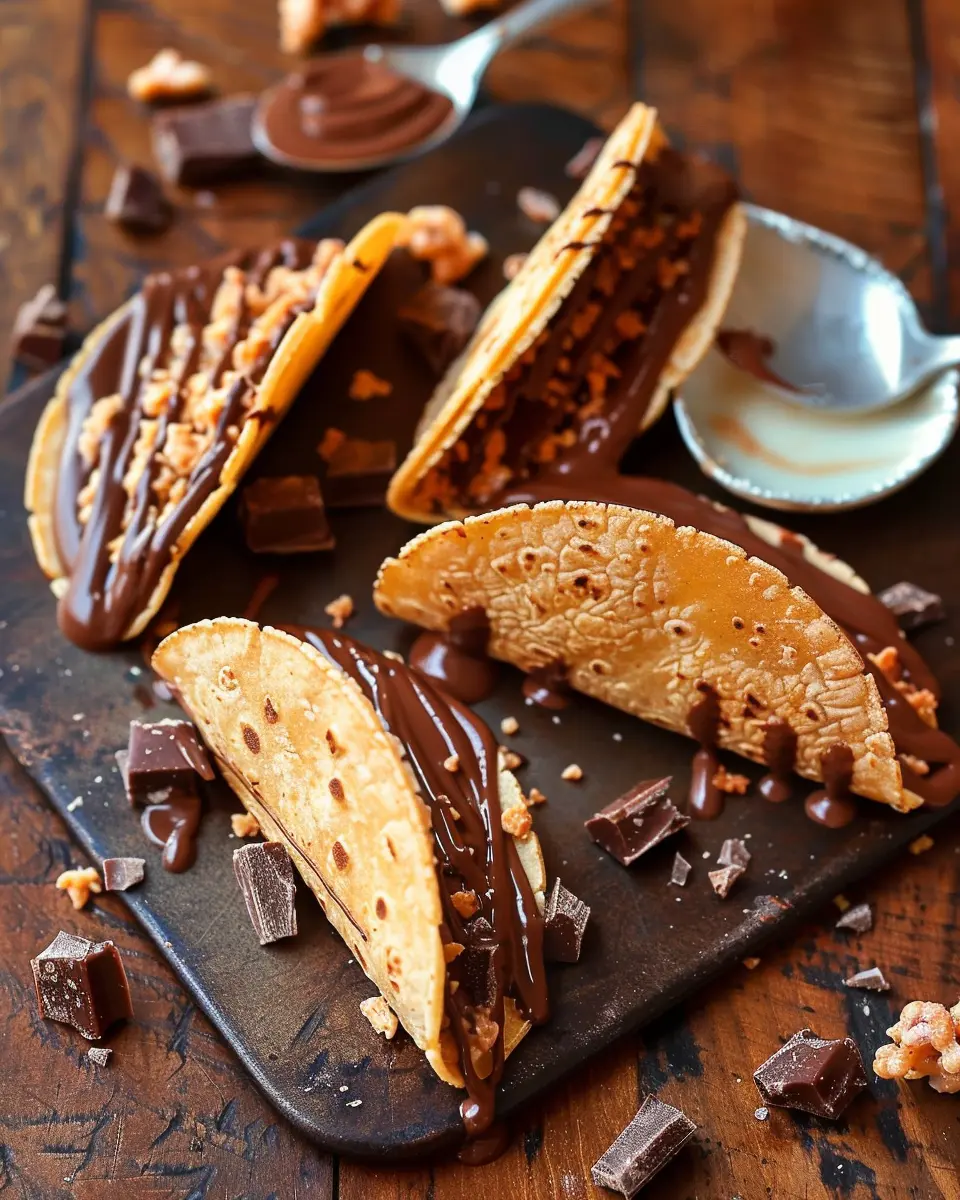
Create the waffle cone shells
While your ice cream sings its sweet song of freezing, it’s time to create the taco shells! You can buy pre-made waffle cones or whip up your own with a simple recipe:
- Ingredients for waffle cones:
- 2 cups all-purpose flour
- ½ cup granulated sugar
- ½ cup melted butter
- 3 eggs
- 2 teaspoons vanilla extract
Mix the dry and wet ingredients separately, then combine. Cook the batter in a waffle cone maker until golden brown, shaping them immediately into taco shells. These homemade wafers give your Choco tacos a delightful crunch!
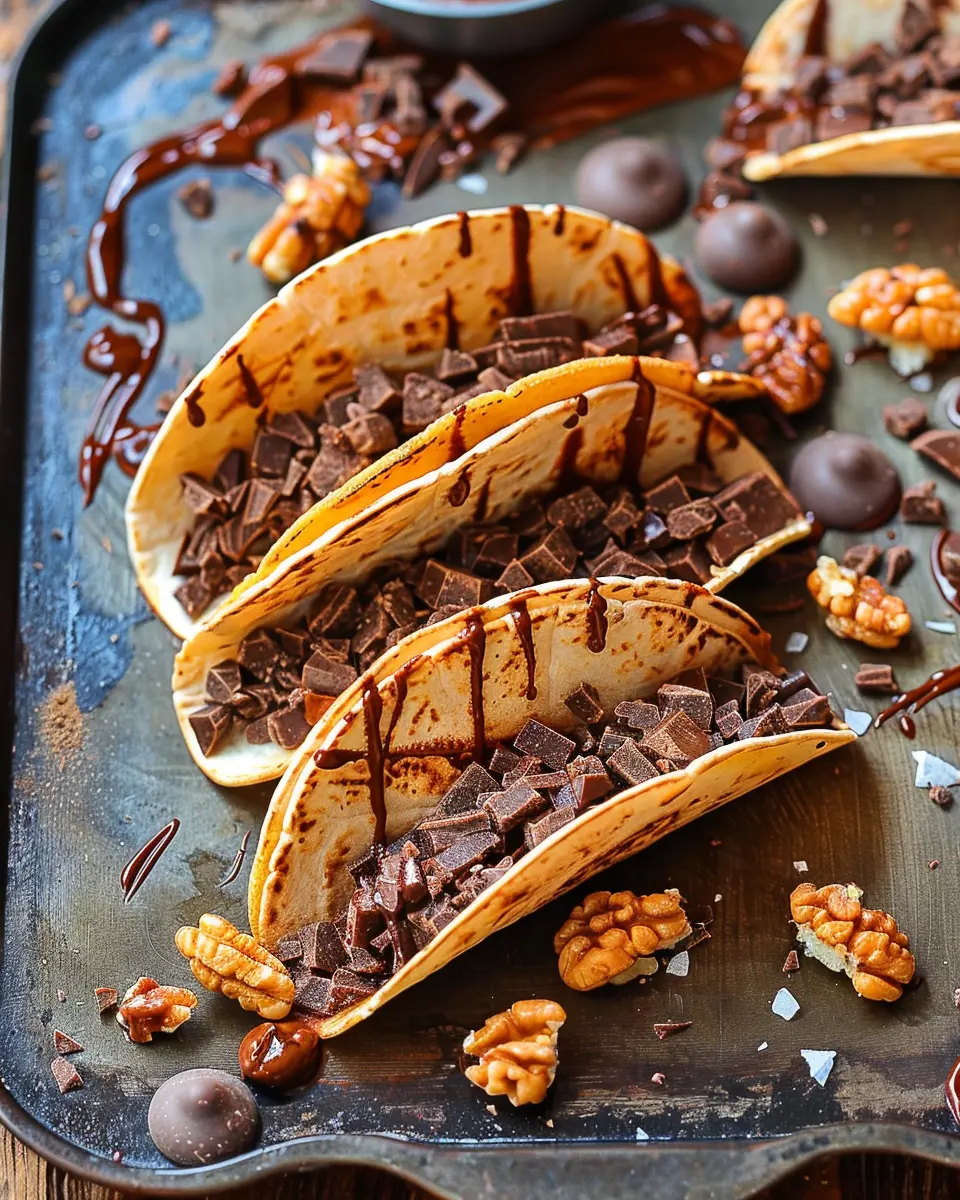
Assemble the tacos and freeze
Finally, it’s time to assemble your homemade Choco tacos!
- Gently release the ice cream layers from the mold and place them into your waffle cone shells.
- Drizzle extra fudge sauce over the top and maybe even sprinkle some crushed nuts for that added texture.
- Place the assembled tacos on a tray and pop them into the freezer for a solid freeze—at least 4 hours will do the trick!
Once they’re frozen, you can enjoy the fruits of your labor. This dessert is perfect for summer soirées or cozy nights in!
And there you have it—a complete guide to preparing your very own homemade Choco tacos. Enjoy your creation and let the deliciousness roll! For more recipes and culinary tips, check out The Ice Cream Revolution or Fudge Fantasies for more fun ideas!
Variations on Homemade Choco Tacos
Dairy-Free Versions
If you’re looking for a dairy-free twist on your homemade choco tacos, you’re in for a treat! There are so many plant-based ice creams available now that you can easily substitute them in your recipes. Brands like So Delicious and Oatly offer fantastic coconut and oat-based ice creams that don’t skimp on flavor or creaminess. Coconut whipped cream can serve as a delicious topping too. And if you’re craving a little more richness, consider using dark chocolate for the taco shell, as it often contains less dairy than its milk chocolate counterpart.
Different Ice Cream Flavors
Why stick to vanilla or chocolate when you can go wild? The beauty of homemade choco tacos lies in their versatility. Think outside the box!
- Mint chocolate chip can deliver a refreshing twist.
- Peanut butter cup will surely satisfy your sweet tooth.
- Strawberry or mango sorbet can be a delightful summer treat.
Feel free to mix and match flavors, creating a unique taco experience. You could even make mini tacos with different flavors and have a fun tasting party with friends!
Creative Toppings and Coatings
The fun doesn’t stop at the ice cream! Up your homemade choco taco game with creative toppings and coatings such as:
- Crushed nuts for a satisfying crunch
- Toasted coconut flakes for a tropical flair
- Colorful sprinkles to bring cheer to your dessert
Don’t hesitate to drizzle caramel or chocolate sauce on top for added sweetness. For an added layer of texture, consider dipping your taco shells in melted chocolate before rolling them in toppings—delish!
Embrace variations and make these treats your own—after all, the best homemade choco tacos are the ones made with love and imagination! Need some inspiration? Check out Epicurious for more ideas!
Cooking Tips and Notes for Homemade Choco Tacos
Key Tips for Perfect Waffle Cones
When making homemade choco tacos, the waffle cone is critical. Here are a few secrets to getting them just right:
- Use a non-stick waffle maker: This helps prevent sticking and ensures a crispy texture.
- Let the batter sit: Allowing the batter to rest for a few minutes can help improve the final texture.
- Mold quickly: Once they’re done cooking, mold the cones immediately while still warm for the best shape.
Importance of Cooling Times
Don’t rush the cooling process! Patience is key here. Once your cones are molded, allow them to cool completely before adding ice cream or chocolate. This prevents them from becoming soggy or losing their shape.
Storing Your Homemade Treats
If you have leftovers (though we doubt it!), wrap your choco tacos tightly in plastic wrap or store them in an airtight container. They’ll stay fresh in the freezer for a month. For tips on the best storage practices, check out this helpful guide here to keep your treats delicious for longer.
By embracing these tips, you’ll enjoy the delightful experience of crafting your own delicious homemade choco tacos!
Serving suggestions for Homemade Choco Tacos
Perfect pairings and presentation ideas
When it comes to serving homemade choco tacos, think about what makes the experience delightful. Pair them with a scoop of velvety vanilla ice cream or a refreshing berry sorbet for a perfect balance of flavors. You can drizzle caramel or chocolate sauce over the top to make them look even more appetizing. Try placing them on a colorful platter surrounded by fresh strawberries or raspberries. The vibrant colors will not only enhance the visual appeal but also invite your guests to indulge!
Fun serving ideas for parties
Hosting a gathering? Homemade choco tacos can be the star of your dessert table! Set up a “Choco Taco Bar” where guests customize their own tacos. Provide toppings like crushed nuts, sprinkles, or coconut flakes. This interactive approach can turn dessert into a fun experience, and who doesn’t love a little creativity? For an added touch, serve alongside refreshing lemonade or iced tea to complement those sweet flavors.
Feeling inspired? Check out this article on dessert presentation for more creative ideas!
Time breakdown for Homemade Choco Tacos
When craving a sweet treat, homemade choco tacos can hit the spot! Here’s how to break down your time for this delightful dessert.
Preparation time
First up, the prep. You’ll need about 30 minutes to whip up the ingredients and get those delicious taco shells ready. If you’re feeling fancy, let your creativity shine with toppings!
Freeze time
Next, allow the taco shells to freeze for at least an hour. This step ensures a sturdy base for your ice cream filling and avoids any sogginess.
Total time
In total, you’re looking at around 1 hour and 30 minutes from start to finish, including prep and freeze time. Not too shabby for such a fun dessert, right?
For more ideas on making dessert fun, check out Food Network for inspiration!
Nutritional facts for Homemade Choco Tacos
Calories per serving
Indulging in homemade choco tacos is a delightful experience, but it’s good to know what you’re putting into your body. Each serving typically contains around 230-250 calories. Of course, these numbers can vary depending on your specific ingredients and portion sizes.
Key nutritional values
These sweet treats offer more than just taste. Here are some key nutritional values you can expect:
- Fat: Approximately 12-15 grams, with healthy fats from chocolate or nut butter.
- Carbohydrates: About 30-35 grams, providing a quick energy boost that will keep you exploring the evening.
- Protein: Roughly 2-4 grams, helpful for a balanced treat.
- Sugars: Around 10 grams, adding that sweet flavor without overwhelming your diet.
For more detailed insights on nutrition, resources like Nutrition.gov offer guidelines that may enhance your awareness and choices. Remember, moderation is key! Enjoy every bite, and consider pairing your choco tacos with some fresh fruit for a well-rounded dessert.
FAQs about Homemade Choco Tacos
Creating your own homemade Choco Tacos can be a delightful and fun experience, but you may have a few questions before diving in. Here are some frequently asked questions to help you get started.
How can I customize my Choco Tacos?
The beauty of homemade Choco Tacos is that you can tailor them to your taste! Here are some exciting ways to customize:
- Ice Cream Flavor: Swap out classic vanilla for flavors like salted caramel, mint chocolate chip, or even dairy-free options.
- Toppings: Add a sprinkle of chopped nuts, mini marshmallows, or even drizzles of caramel or peanut butter for an extra sweet touch.
- Chocolate Coating: Experiment with white chocolate or dark chocolate for a twist on the classic.
Feel free to get creative! You can even involve friends or family in the process to see what unique combinations you come up with.
What if I don’t have a waffle cone maker?
No waffle cone maker? No problem! You can still achieve that crispy taco shell by using a non-stick frying pan:
- Create a thin batter and pour it into the pan.
- Once it’s cooked, mold it over a small bowl or a taco mold.
- Let it cool and harden before you fill it with ice cream.
This method requires a bit of patience, but the result is just as delicious!
How long can I store homemade Choco Tacos?
If you find yourself with leftover homemade Choco Tacos, you can keep them for about 1 week in the freezer. Just wrap each taco in plastic wrap and place them in an airtight container to prevent freezer burn. A quick tip: let them sit for a couple of minutes at room temperature before enjoying for that perfect soft texture.
With these tips in hand, you’re well on your way to making the ultimate homemade treat! If you’re looking for more recipes, check out this guide on homemade desserts.
Conclusion on Homemade Choco Tacos
Recap of the Joy of Homemade Treats
There’s truly something special about creating your own homemade choco tacos. The process invites creativity, allowing you to experiment with flavors and textures that store-bought versions simply can’t match. Each bite encapsulates your unique touch and flair, providing a warm reminder of those carefree childhood days spent enjoying ice cream treats.
Encouragement to Try the Recipe at Home
I encourage you to roll up your sleeves and try this recipe at home! Making homemade choco tacos can be a fun weekend project, perfect for impressing friends or simply treating yourself. Need tips? Check out these expert insights on enhancing your dessert-making skills. Dive in; your taste buds will thank you!
Print
Homemade Choco Tacos: Easy Indulgence for Sweet Lovers
Enjoy a delightful treat with these easy homemade choco tacos, perfect for satisfying your sweet tooth.
- Total Time: 20 minutes
- Yield: 8 servings 1x
Ingredients
- 1 cup chocolate chips
- 1/2 cup heavy cream
- 1 tablespoon vanilla extract
- 8 taco-shaped waffle cones
- 1 cup sprinkles
- 1 cup chopped nuts
Instructions
- In a saucepan, heat the heavy cream until it begins to simmer.
- Remove from heat and add chocolate chips and vanilla extract, stirring until smooth.
- Dip the edges of the taco cones in the chocolate mixture, then in sprinkles or nuts.
- Fill each cone with the remaining chocolate mixture and freeze until set.
- Serve and enjoy your homemade choco tacos!
Notes
- Experiment with different toppings like coconut or cookies.
- Make extra chocolate mixture for drizzling on top before serving.
- Prep Time: 15 minutes
- Cook Time: 5 minutes
- Category: Dessert
- Method: No-Bake
- Cuisine: American
- Diet: Vegetarian
Nutrition
- Serving Size: 1 taco
- Calories: 200
- Sugar: 15g
- Sodium: 50mg
- Fat: 12g
- Saturated Fat: 7g
- Unsaturated Fat: 4g
- Trans Fat: 0g
- Carbohydrates: 22g
- Fiber: 1g
- Protein: 2g
- Cholesterol: 20mg
Keywords: Homemade Choco Tacos, choco tacos, dessert recipes