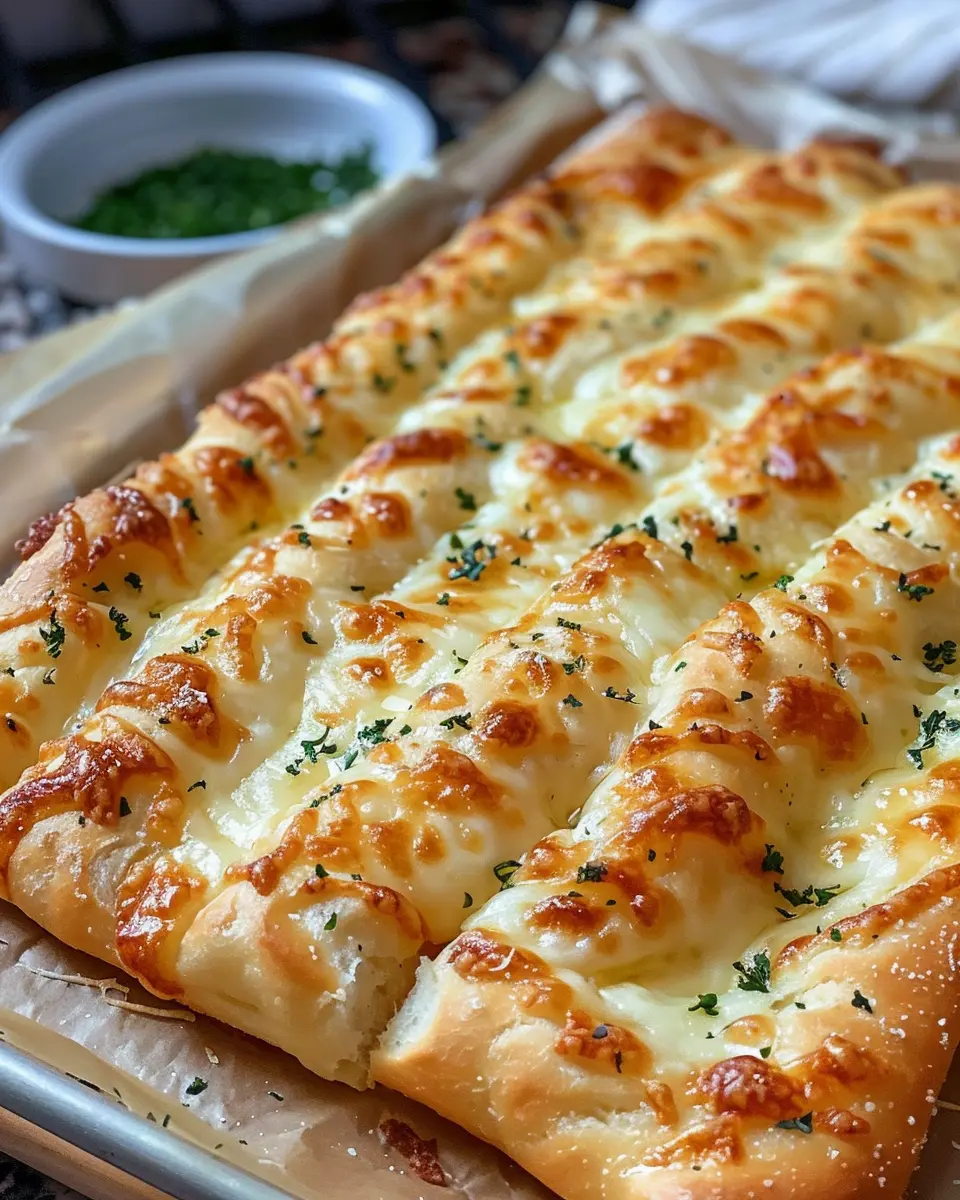
Introduction to Homemade Cheesy Garlic Breadsticks
If you’re looking for a delicious and easy-to-make snack, look no further than homemade cheesy garlic breadsticks. These scrumptious treats are perfect for any occasion, whether you’re hosting a casual get-together with friends or simply craving a comforting evening at home. There’s something undeniably satisfying about pulling a warm tray of cheesy goodness from the oven, and watching as your guests indulge in each buttery bite.
Why Homemade Cheesy Garlic Breadsticks are a Game-Changer?
The charm of homemade cheesy garlic breadsticks lies in their versatility and simplicity. Using just a few ingredients, you can whip up a batch that rivals any restaurant’s offerings. Plus, you get to customize them to your taste!
Here are a few compelling reasons to try making them at home:
-
Fresh Ingredients: When you create your own garlic breadsticks, you choose quality ingredients. Opt for fresh garlic, real butter, and gooey cheese for the best flavor. This hands-on approach can transform a seemingly ordinary snack into something extraordinary.
-
Personalization: Feeling adventurous? Add your favorite toppings! From herbs like oregano and basil to meats like turkey bacon or chicken ham, the options are endless. You might even enjoy adding a drizzle of olive oil or balsamic glaze for an extra flavor kick.
-
Cost-Effective: If you frequently indulge in takeout or restaurant dinners, you might be surprised at how simple and budget-friendly these homemade cheesy garlic breadsticks are. A quick glance at grocery prices will show you just how much you can save by making them yourself.
-
Crowd-Pleasing: Everyone loves cheesy bread! It’s a fantastic way to elevate your meal, making any pizza night or pasta dish feel extra special. And if you have leftovers, they reheat beautifully—perfect for lunch the next day!
So, are you ready to dive into the world of homemade cheesy garlic breadsticks? Grab your apron, and let’s get cooking! With just a sprinkle of imagination and a pinch of effort, you’ll have a delightful treat that’ll leave everyone asking for seconds. For more tips on perfecting your homemade bread, check out this guide from King Arthur Flour and discover the joy of baking fresh bread at home.
Ingredients for Homemade Cheesy Garlic Breadsticks
Essential Ingredients for Breadsticks
Creating the perfect batch of homemade cheesy garlic breadsticks starts with the essentials. Here’s what you’ll need:
- Pizza dough: You can use store-bought or make your own from scratch.
- Garlic: Fresh garlic is always best, but garlic powder can work in a pinch.
- Butter: For that rich flavor and golden crust.
- Cheese: Mozzarella is a classic choice, but you can mix in Parmesan for extra zest.
- Parsley: Fresh or dried, parsley adds a great touch of color and flavor.
These components come together to make a dish that’s not just satisfying but also great for sharing at gatherings or enjoying during a quiet night in with a good movie.
Optional Ingredients for Extra Flavor
Want to elevate your homemade cheesy garlic breadsticks to the next level? Consider adding:
- Turkey bacon or chicken ham: A delightful salty surprise.
- Crushed red pepper flakes: For a kick!
- Olive oil: A drizzle can enhance the flavor.
- Italian herbs: Think oregano or basil for that extra aroma.
These optional ingredients can customize your breadsticks, making them as unique as your taste. What will you try first? For more ideas, check out thekitchn.com for inspiration on topping variations!
Step-by-Step Preparation of Homemade Cheesy Garlic Breadsticks
Making homemade cheesy garlic breadsticks is one of those culinary projects that feels rewarding from start to finish. Whether you’re planning a cozy night in, impressing friends at a gathering, or craving a cheesy snack, these breadsticks are the perfect choice. Let’s dive into this simple, step-by-step guide that will make you the star of your kitchen.
Activate Your Yeast
The first step in creating our homemade cheesy garlic breadsticks is to bring your yeast to life. Grab a small bowl and measure out 2 ¼ teaspoons of active dry yeast.
- Add this to about 1 cup of warm water (about 110°F is ideal).
- Stir in a teaspoon of sugar—this sweetens the mixture and fuels the yeast.
- Let it sit for roughly 5-10 minutes until it’s bubbly and foamy. If you don’t see this frothy reaction, your yeast may be inactive; it’s best to start over with fresh yeast.
Combine Dry Ingredients
While your yeast is activating, it’s time to gather your dry ingredients. In a large mixing bowl, combine:
- 3 cups of all-purpose flour
- 2 teaspoons of salt
Whisk these ingredients together so that the salt and flour are evenly distributed. This is a crucial step that ensures your homemade cheesy garlic breadsticks will have consistent flavor throughout.
Knead the Dough to Perfection
Once your yeast is happily bubbling away, it’s game time!
- Pour your yeast mixture into the flour and salt.
- Stir with a wooden spoon until a shaggy dough starts to form.
- Transfer the dough to a floured surface and begin kneading.
Knead it for about 8-10 minutes until the dough becomes smooth and elastic. This process activates the gluten, giving your breadsticks that delightful chewy texture. Remember to keep a light dusting of flour on your working surface to prevent sticking.
Allow the Dough to Rise
After kneading, place your dough in an oiled bowl, turning it so it’s coated in oil. Cover it with a clean kitchen towel or plastic wrap, and let it rise in a warm spot for about an hour or until it doubles in size.
Want to speed up the rise? Preheat your oven to its lowest setting for a few minutes, then turn it off, and place the dough inside. The gentle warmth provides an ideal environment for rising.
Prepare Garlic Butter and Cheese
While your dough is rising, let’s create the garlic butter that will elevate your homemade cheesy garlic breadsticks to another level!
- In a small bowl, combine ¼ cup of softened butter, 3-4 minced garlic cloves, and a teaspoon of Italian seasoning.
- Mix until smooth and set aside.
For the cheesy topping, choose about a cup of your favorite cheese. Mozzarella is a classic choice, but feel free to add parmesan or cheddar for an extra kick of flavor.
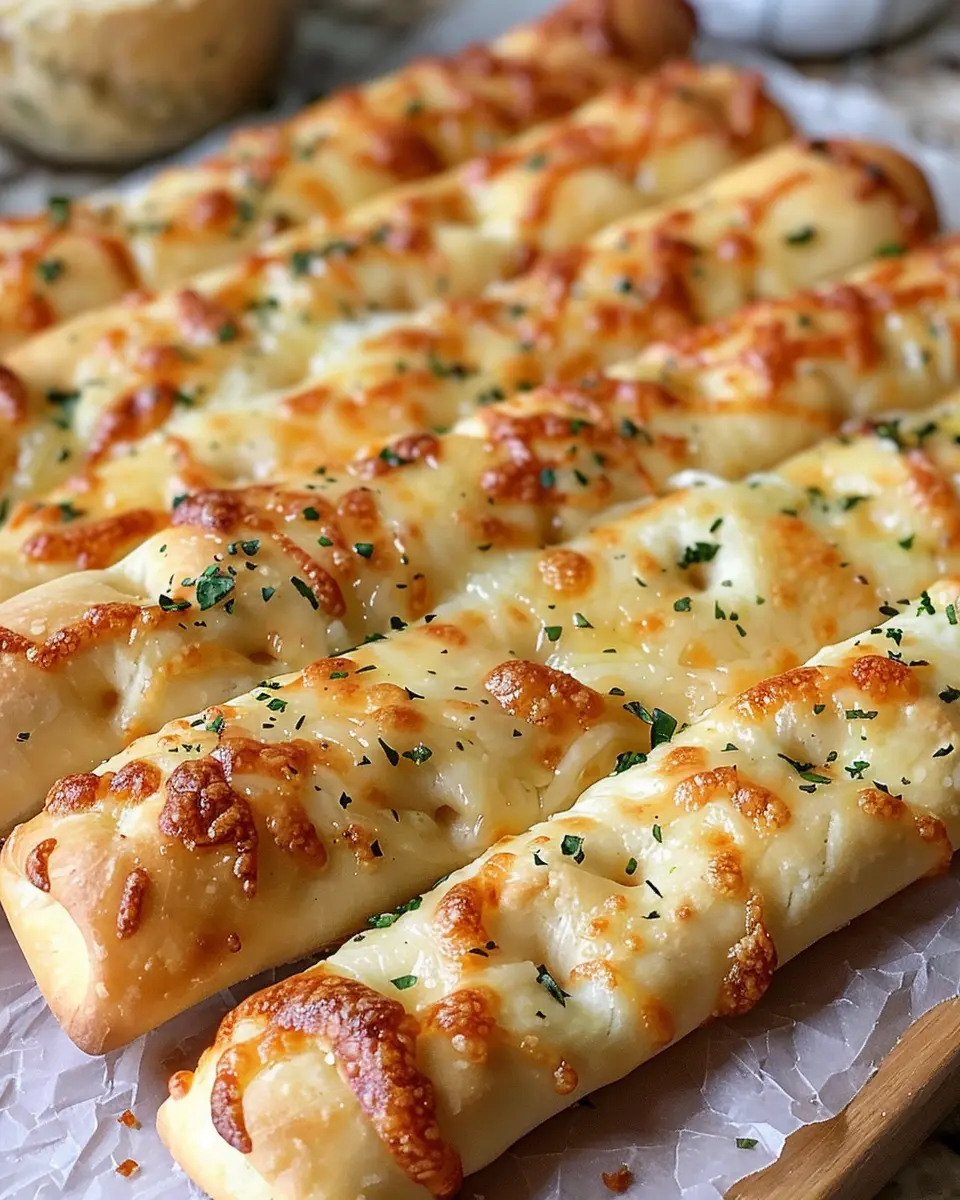
Shape and Cut the Breadsticks
Once your dough has risen beautifully, punch it down to release the air.
- Roll it out on a floured surface into a rectangle about ½ inch thick.
- Spread your garlic butter evenly across the top.
- Sprinkle your chosen cheese generously over the butter.
Now, using a pizza cutter or knife, cut the dough into strips for your breadsticks. You can make them as thick or as thin as you prefer—just keep them uniform for even baking.
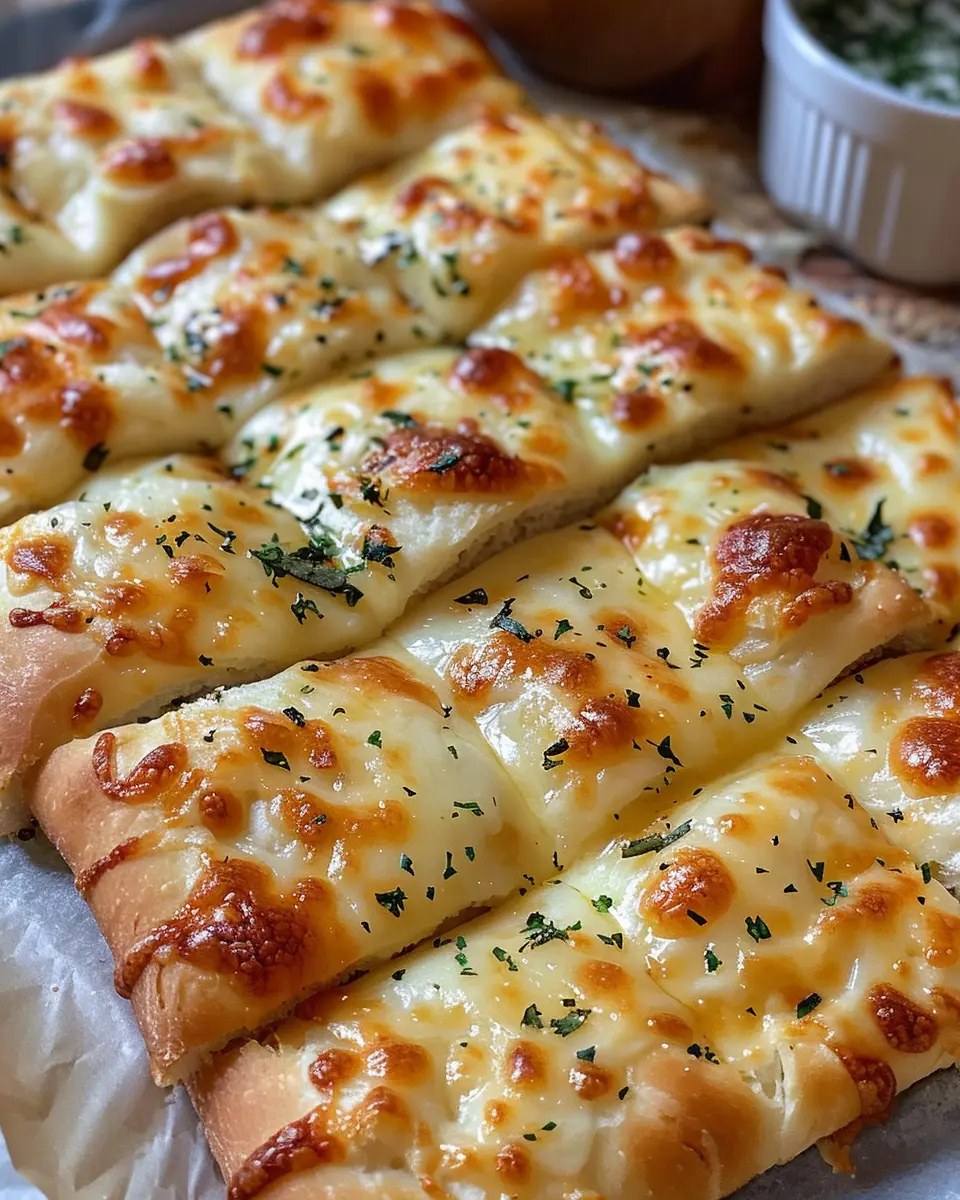
Bake Until Golden Brown
Preheat your oven to 375°F (190°C) while you let your cut breadsticks rest for another 10-15 minutes. This short rest allows them to puff slightly.
- Arrange the breadsticks on a baking sheet lined with parchment paper, ensuring they aren’t crowded.
- Bake for about 15-20 minutes, or until they turn golden brown and your kitchen fills with that irresistible aroma.
Once baked, drizzle any remaining garlic butter on top and let them cool slightly before serving.
And voilà! You’ve got perfectly cheesy, garlicky breadsticks that are sure to impress anyone lucky enough to try them. Enjoy your delicious creation! For more culinary inspiration, explore sites like Food Network or Serious Eats for additional tips.
Variations on Homemade Cheesy Garlic Breadsticks
Whether you’re hosting a cozy movie night or just in need of a comforting snack, these homemade cheesy garlic breadsticks are sure to impress. But why stop at the classic recipe? Here are a couple of delicious variations to help elevate your breadstick game!
Cheesy Garlic Breadsticks with Herbs
Adding a medley of fresh herbs can take your homemade cheesy garlic breadsticks to the next level. Incorporate herbs such as rosemary, thyme, or parsley into the garlic butter mixture. This not only boosts the flavor but also gives your breadsticks a lovely aromatic quality.
- Ingredients to try:
- 1 tablespoon chopped fresh rosemary
- 1 tablespoon chopped fresh thyme
- 1/4 cup grated Parmesan cheese mixed in with the mozzarella
Simply blend these herbs into your garlic butter before spreading it on the dough. Trust me, this little touch will impress everyone at the table.
Spicy Garlic Breadsticks with Red Pepper Flakes
If you’re someone who enjoys a bit of a kick, then spicy garlic breadsticks are for you! Adding red pepper flakes to the garlic butter gives your homemade cheesy garlic breadsticks that extra zing.
- Ingredients to enhance your spice game:
- 1 teaspoon of crushed red pepper flakes (adjust to your heat preference)
- A sprinkle of cayenne pepper for an added punch
For an easy meal pairing, serve these alongside a cool yogurt dipping sauce or a creamy ranch dressing to balance out the heat. Fun fact: Spice can even stimulate endorphin release, giving you a natural mood lift!
With these two variations, you can tailor your homemade cheesy garlic breadsticks to suit any occasion. Happy baking! For more ideas, check out this article about popular breadstick trends.
Cooking Tips and Notes for Homemade Cheesy Garlic Breadsticks
Tips for Perfectly Soft Breadsticks
To ensure your homemade cheesy garlic breadsticks come out delightfully soft, you’ll want to pay attention to a few key points:
- Knead Well: Make sure to knead the dough until it’s smooth and elastic. This helps develop gluten, giving the breadsticks that perfect texture.
- Don’t Overbake: Keep an eye on your breadsticks while they’re in the oven. They should be golden brown, not brown and crispy, to maintain softness.
- Use Fresh Ingredients: Fresh garlic and high-quality cheese can elevate the flavor, making your breadsticks even more irresistible.
Notes on Storing and Reheating
Storing your homemade cheesy garlic breadsticks correctly is essential for maintaining their flavor and texture:
- Storing: Wrap cooled breadsticks in aluminum foil or keep them in an airtight container at room temperature. They’re best enjoyed within two days.
- Freezing: You can freeze them for up to three months. Wrap them tightly in plastic wrap before placing them in a freezer bag.
- Reheating: To bring them back to life, reheat in the oven at 350°F (175°C) for about 10 minutes. This will help them regain their delightful softness.
Feeling inspired? Check out this bread history article for more insights on why breadsticks have become a favorite in many households!
Serving Suggestions for Homemade Cheesy Garlic Breadsticks
Pairing with Dips and Sauces
One of the easiest and most delicious ways to enjoy your homemade cheesy garlic breadsticks is to serve them with delightful dips! Here are a few of our favorites:
- Marinara Sauce: This classic pairing amplifies the flavors of your breadsticks; the tangy sauce perfectly complements the garlic and cheese.
- Ranch Dressing: If you prefer a creamy dip, ranch dressing adds a cool, herby contrast that balances all that savory goodness.
- Spinach Artichoke Dip: For a more sophisticated option, try serving your breadsticks with a warm spinach artichoke dip. The creamy texture elevates your snack game!
Serving as an Appetizer or Side Dish
These homemade cheesy garlic breadsticks make a fantastic appetizer or side dish for any meal. Imagine them gracing your dinner table next to hearty soups or fresh salads. They’re also a hit at gatherings and game nights — perfect for sharing while cheering on your favorite team!
Plus, they’re versatile enough to fit any casual occasion. Consider adding a sprinkle of herbs or chili flakes for a personal touch. Feel free to check out our recommendations for more savory pairings that can elevate your dining experience (source: Taste of Home). Enjoy!
Time Breakdown for Homemade Cheesy Garlic Breadsticks
When you’re craving homemade cheesy garlic breadsticks, it’s important to know how much time you’ll need to whip them up. Thankfully, this recipe is quick and straightforward!
Preparation Time
You’ll need about 15 minutes to prepare your ingredients. This includes chopping garlic, measuring cheese, and mixing the dough. Make sure to gather everything beforehand—it’s all about efficiency!
Cooking Time
Baking these delectable breadsticks will take around 15 minutes. Watch them closely for that golden-brown hue; they’ll be irresistible once they’re out of the oven!
Total Time
In total, you’re looking at about 30 minutes from start to finish. With just half an hour, you’ll have fresh, cheesy breadsticks ready to savor. Perfect for a quick snack or a side dish at dinner! For more tips on enhancing your cooking skills, check out resources from Serious Eats or The Kitchn.
Nutritional Facts for Homemade Cheesy Garlic Breadsticks
Calories and Macronutrients
When indulging in homemade cheesy garlic breadsticks, it’s helpful to know just what you’re getting. On average, one serving contains about 180-220 calories, depending on the cheese and bread used. You’ll typically find:
- Fat: 8-10 grams
- Carbohydrates: 25-30 grams
- Protein: 5-7 grams
These numbers can fluctuate based on your ingredient choices—opting for whole wheat bread or low-fat cheese can help lighten the load.
Dietary Considerations
If you’re watching your diet, homemade cheesy garlic breadsticks can still fit in!
- Vegetarian: A great option for plant lovers.
- Gluten-Free: Swap traditional bread for gluten-free varieties.
- Customizable: Whether you’re avoiding dairy or adding extra toppings, making them at home allows you to control every ingredient.
For more detailed dietary insights, check out the USDA’s FoodData Central as a reliable resource. Enjoy your delicious breadsticks guilt-free!
FAQs about Homemade Cheesy Garlic Breadsticks
Can I use whole wheat flour?
Absolutely! Substituting all-purpose flour with whole wheat flour adds a delightful nutty flavor and extra nutrition to your homemade cheesy garlic breadsticks. However, keep in mind that using whole wheat flour can result in a denser texture. For the best results, you might want to experiment with a mix of whole wheat and all-purpose flour to achieve that perfect balance.
How long can I store leftover breadsticks?
If you find yourself with leftover breadsticks (which is rare, but hey, it happens), you can store them in an airtight container or wrap them in foil. They’ll stay good at room temperature for about 2 days, or you can pop them in the fridge for up to a week. If you need to store them longer, consider freezing them! Just make sure to wrap them tightly to avoid freezer burn; they can last in the freezer for up to 3 months. When you’re ready to enjoy them again, pull them out and reheat as suggested below.
What’s the best way to reheat garlic breadsticks?
To bring back that fresh-from-the-oven taste, the oven is your best bet for reheating homemade cheesy garlic breadsticks. Preheat your oven to 350°F (175°C), then wrap the breadsticks in aluminum foil to keep them moist and heat for about 10-15 minutes. Alternatively, if you’re pressed for time, you can microwave them for about 20-30 seconds, but the texture may not be as delightful.
Now you’re all set to become the garlic breadstick guru among your friends! For more insights on making the fluffiest breadsticks, check out the comprehensive guide on baking techniques. Happy baking!
Conclusion on Homemade Cheesy Garlic Breadsticks
Why You’ll Love Making Your Own!
Homemade cheesy garlic breadsticks are not just a delightful treat; they’re a canvas for your creativity! You can adjust ingredients to cater to your taste preferences, like using Turkey Bacon or Chicken Ham for extra flavor. Plus, it’s incredibly satisfying to pull a fresh batch from the oven and enjoy them warm.
Making these breadsticks at home is also a fun way to bond with friends or family. Serve them as a side dish or a snack during game day, and watch everyone come back for more! Ready to start the adventure? Check out this comprehensive guide on bread making here. Enjoy the process, and don’t forget to share your cheesy creations!
Print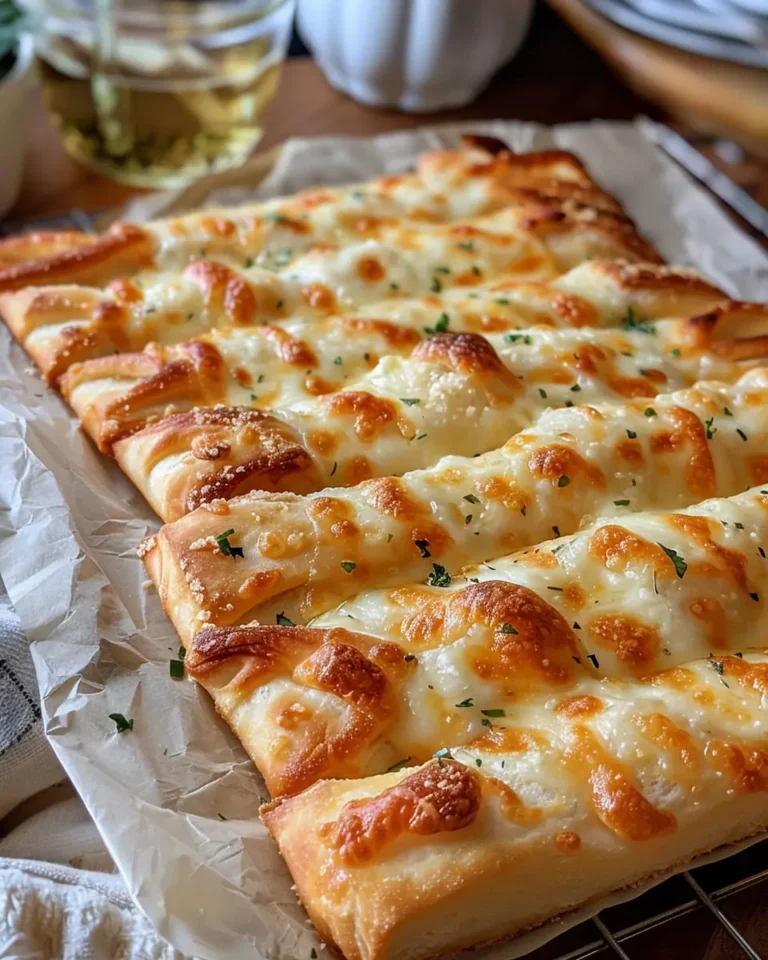
Homemade Cheesy Garlic Breadsticks: The Best Comfort Food Treat
Enjoy the ultimate comfort food with these delicious homemade cheesy garlic breadsticks, perfect for any occasion.
- Total Time: 40 minutes
- Yield: 12 breadsticks 1x
Ingredients
- 2 cups all-purpose flour
- 1 tablespoon sugar
- 1 teaspoon salt
- 1 packet active dry yeast
- 3/4 cup warm water
- 2 tablespoons olive oil
- 1/2 cup shredded mozzarella cheese
- 1/4 cup grated Parmesan cheese
- 3 cloves garlic, minced
- 1 teaspoon dried oregano
Instructions
- In a bowl, dissolve sugar and yeast in warm water. Let it sit for about 5 minutes until frothy.
- Add flour, salt, and olive oil to the yeast mixture. Mix until combined.
- Knead the dough on a floured surface for about 5-7 minutes until smooth.
- Place the dough in a greased bowl, cover, and let it rise for 1 hour.
- Preheat your oven to 400°F (200°C).
- Roll out the dough onto a baking sheet and cut it into sticks.
- Melt butter and mix in minced garlic and oregano. Brush over the dough.
- Sprinkle mozzarella and Parmesan cheese on top.
- Bake for 15-20 minutes until golden brown.
- Allow to cool slightly before serving.
Notes
- For extra flavor, add herbs to the dough.
- Perfectly pairs with marinara sauce.
- Prep Time: 20 minutes
- Cook Time: 20 minutes
- Category: Appetizer
- Method: Baking
- Cuisine: Italian
Nutrition
- Serving Size: 1 breadstick
- Calories: 120
- Sugar: 1g
- Sodium: 200mg
- Fat: 6g
- Saturated Fat: 2g
- Unsaturated Fat: 4g
- Trans Fat: 0g
- Carbohydrates: 15g
- Fiber: 1g
- Protein: 4g
- Cholesterol: 10mg
Keywords: Homemade Cheesy Garlic Breadsticks, Comfort Food, Easy Recipes