Introduction to Homemade Twix Bars
The Appeal of Homemade Treats
There’s something inherently magical about making treats from scratch. The process of whipping up a sweet delight like Homemade Twix Bars is not just about satisfying a craving; it’s an experience that connects us to our creativity, whether you’re stirring melted chocolate or layering that irresistible caramel. With homemade goodies, you have the power to choose your ingredients, ensuring quality while also customizing flavors to match your personal preferences.
Making treats at home can also be a delightful way to unwind after a hectic week. When you slip into that kitchen apron, it’s like signing up for a mini adventure. Plus, the aroma of fresh ingredients bubbling away is hard to beat. The best part? You get to share your creations with friends or family (or keep them all to yourself, no judgment here!).
Why Make Twix Bars at Home?
You might wonder, why Twix bars?. Well, these classic candies often feature a perfect trio of flavors: crunchy cookie, smooth caramel, and rich chocolate. While you can easily find them in stores, the homemade version offers an unmatched depth of flavor and richness, largely because you can control the quality of chocolate and sweetness.
Additionally, crafting your own Homemade Twix Bars can be surprisingly easy. The demand for homemade treats has surged in recent years, largely attributed to the growing awareness around healthy eating. When you make your own candy, you skip the preservatives and mystery ingredients often found in store-bought versions. Instead, you can opt for high-quality dark chocolate or a hint of sea salt for that gourmet touch. Check out resources like the USDA for insights on nutritional ingredients and health benefits.
Also, the joy of experimenting in the kitchen can be incredibly rewarding. Think about the memories you could create — like assembling your layers with friends during a cozy weekend. Plus, you can even get creative with variations! Ever tried them with a drizzle of peanut butter or sprinkled with sea salt?
So gather your ingredients and prepare for a delicious journey. You might just become known as the homemade candy expert among your friends!
Ingredients for Homemade Twix Bars
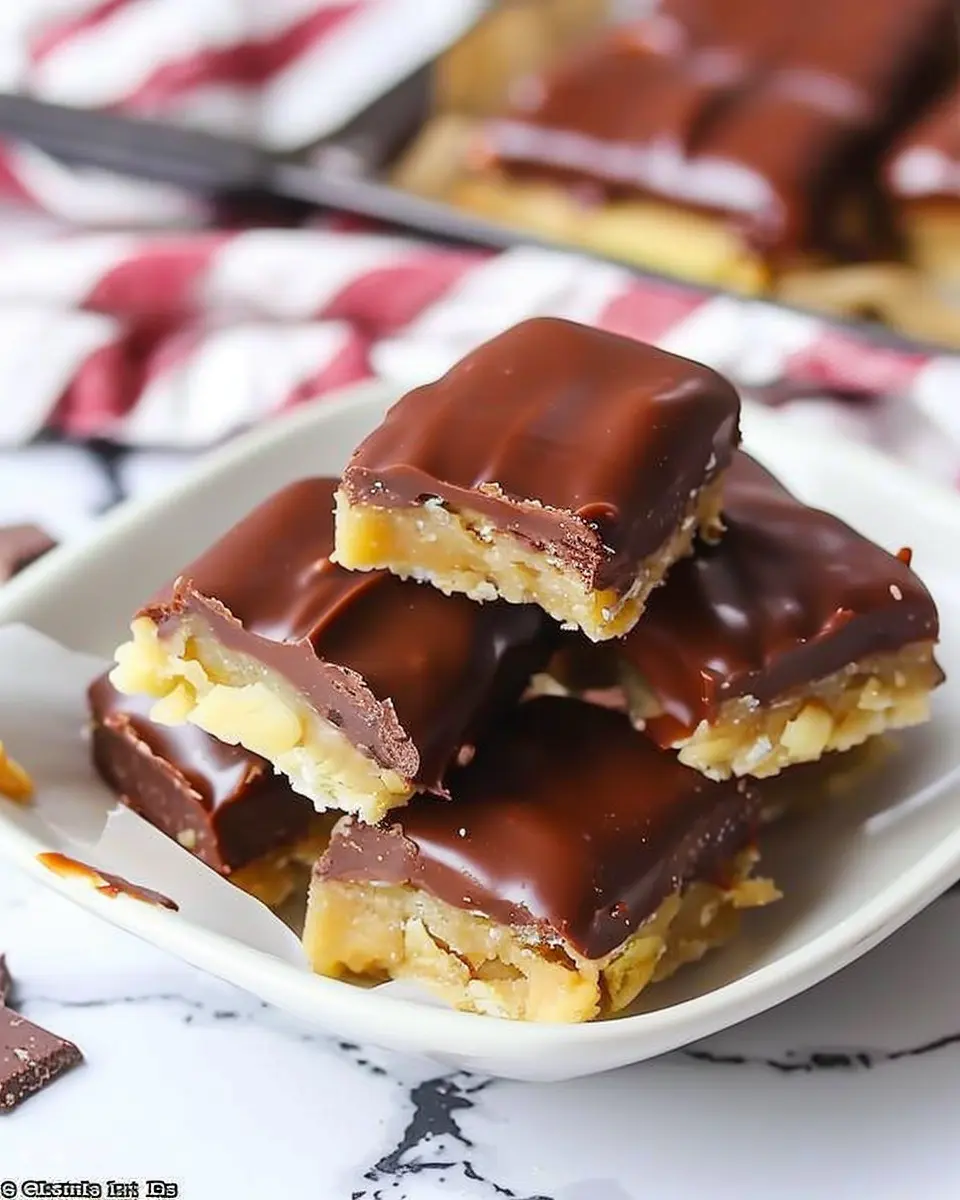
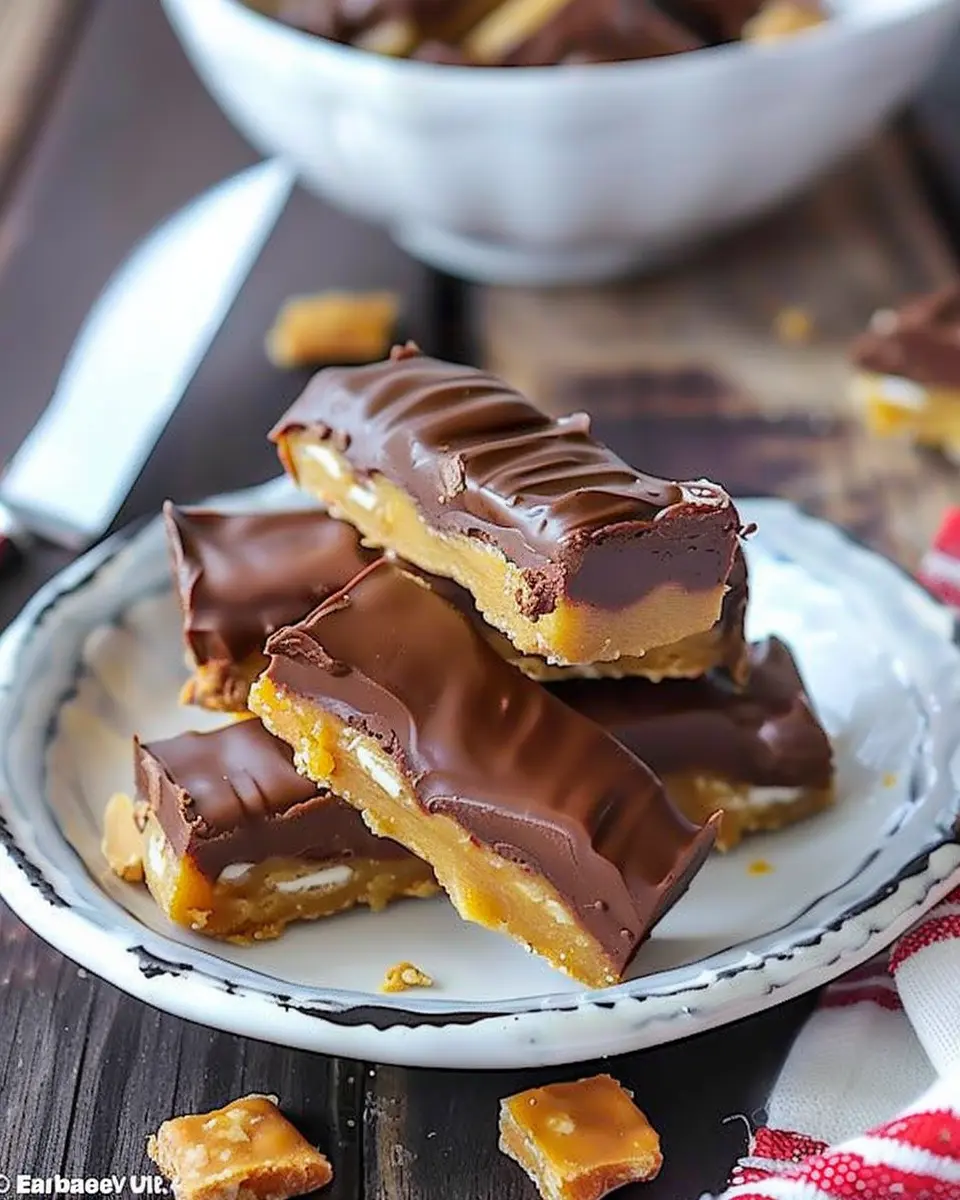
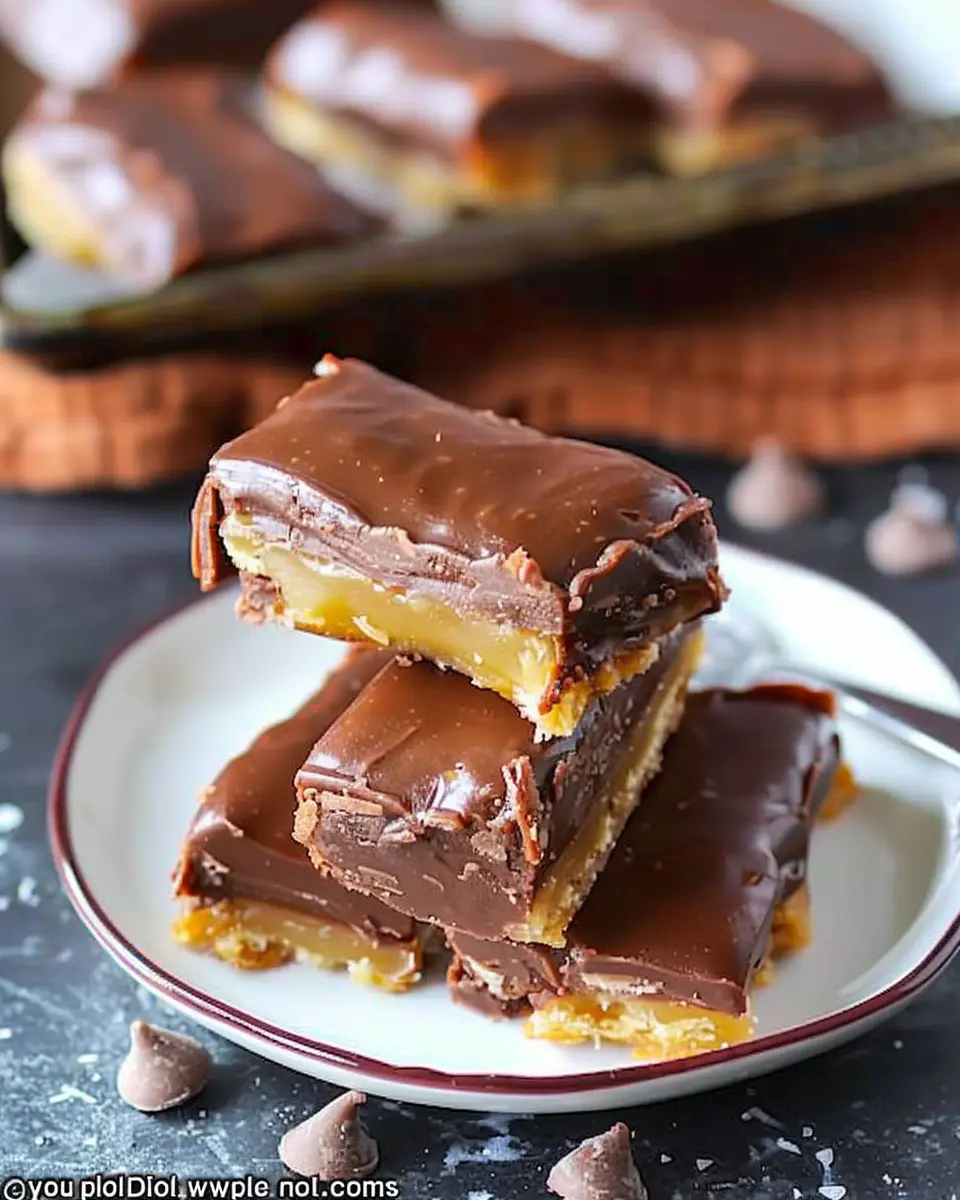
Creating the perfect Homemade Twix Bars involves piecing together three delightful layers: a buttery shortbread, a gooey caramel, and a rich chocolate coating. Let’s dive into what you’ll need for each layer.
Shortbread Layer Ingredients
The foundation of your Twix bars is a classic shortbread. For that melt-in-your-mouth texture, you’ll need:
- 1 cup unsalted butter, softened
- ½ cup granulated sugar
- 2 cups all-purpose flour
- ¼ teaspoon salt
Caramel Layer Ingredients
Next up is the rich caramel that holds it all together. It’s what truly elevates these Homemade Twix Bars:
- 1 cup brown sugar, packed
- ½ cup heavy cream
- ¼ cup unsalted butter
- 1 teaspoon vanilla extract
- A pinch of sea salt
Chocolate Layer Ingredients
Finally, the chocolate coating adds that signature finish. Use high-quality ingredients for the best flavor:
- 10 oz semi-sweet chocolate chips
- 1 tablespoon coconut oil (optional, for smoothness)
Once you gather these ingredients, you’re just a few steps away from enjoying your homemade treat! Want more tips on getting that caramel just right? Check out this caramel-making guide for expert insights.
Step-by-Step Preparation of Homemade Twix Bars
Creating your own Homemade Twix Bars can be an incredibly satisfying experience that combines baking with a bit of culinary artistry. Get ready to impress your friends, family, or just indulge yourself! Let’s dive into the steps that will take you from basic ingredients to tasty, crunchy, caramel-coated bars that rival the store-bought version.
Gather Your Equipment and Ingredients
First things first—gather everything you need before starting the process. This will save you from running around the kitchen mid-recipe. Here’s what you’ll need:
Equipment:
- Baking dish (9×9 or similar)
- Mixing bowls
- Saucepan
- Rubber spatula
- Whisk
- Measuring cups and spoons
- Parchment paper
- Double boiler or microwave-safe bowl (for melting chocolate)
Ingredients:
- 1 cup unsalted butter (room temperature)
- 1/2 cup sugar
- 2 cups all-purpose flour
- 1/4 teaspoon salt
- 1 can (14 oz) sweetened condensed milk
- 1 cup brown sugar
- 1/2 cup light corn syrup
- 1 teaspoon vanilla extract
- 12 oz milk chocolate chips
- 2 tablespoons vegetable oil (optional)
By having these ready, you’ll ensure a seamless baking experience. Did you know that having your ingredients organized can affect the outcome of your baking? It lowers stress and enhances your creativity!
Make the Shortbread Layer
Next up is the star of the show: the shortbread layer. This buttery base is what gives your Homemade Twix Bars that irresistible crunch. Here’s how to make it:
- Preheat your oven to 350°F (175°C).
- In a mixing bowl, cream together the butter and sugar until light and fluffy.
- Gradually add the flour and salt, mixing until combined. The dough should be crumbly but stick together when pressed.
- Press this mixture evenly into the bottom of your baking dish. Try to create a nice, even layer for best results.
- Bake for 20-25 minutes or until lightly golden. Allow it to cool.
While the shortbread base is cooling, you can prep the caramel layer, which is just as heavenly.
Prepare the Caramel Layer
This step may seem a bit daunting, but I promise it’s simpler than it looks! The caramel is what takes these Homemade Twix Bars to the next level:
- In a saucepan over medium heat, combine the sweetened condensed milk, brown sugar, corn syrup, and butter.
- Stir continuously until the mixture comes to a gentle boil. This should take about 5-7 minutes, but make sure you keep stirring to prevent sticking.
- Once thickened, remove it from the heat and stir in the vanilla extract.
- Pour this luscious caramel over the cooled shortbread layer, spreading it evenly.
Let this cool completely; you can even pop it in the fridge to speed up the process!
Assemble the Bars
Now that your shortbread and caramel layers are ready, it’s time to assemble! This is when the excitement builds—the final product is just around the corner:
- Once the caramel is set, you’ll want to cut the bars into nice squares or rectangles—whatever suits your fancy!
- Arrange these on a cooling rack, as we prepare for the final coating.
It’s helpful to serve these on a platter or in individual wrappers, especially if you’re making them as treats for a gathering or party!
Coat with Chocolate
Finally, the pièce de résistance: the chocolate coat! Here’s how to achieve a silky, shiny finish:
- Melt the chocolate chips (and optional vegetable oil for shine) in a double boiler or a microwave-safe bowl until smooth.
- Dip each bar into the melted chocolate, making sure it’s completely covered. A fork works well to lift it out and let the excess chocolate drip off.
- Place the coated bars back on the cooling rack.
Repeat this process until all of your bars are fully coated. Allow the chocolate to set completely at room temperature or in the fridge.
And there you have it—your homemade Twix Bars! When you take that first bite, you’ll appreciate the blend of flavors and textures that make these bars so beloved. Enjoy your delicious creation with friends, and remember, they might just request a second batch!
Variations on Homemade Twix Bars
When it comes to Homemade Twix Bars, the classic recipe is just the beginning. Let’s explore a couple of mouthwatering variations that will satisfy your cravings while accommodating different tastes and dietary preferences.
Peanut Butter Twix Bars
If you’re a peanut butter lover, this twist on the traditional recipe is a game-changer! To make Peanut Butter Twix Bars, simply replace the caramel layer with a smooth peanut butter mixture. Here’s how:
-
Ingredients:
-
1 cup creamy peanut butter
-
2 tablespoons maple syrup or honey
-
1/4 cup powdered sugar
-
Instructions:
- In a bowl, mix the peanut butter, maple syrup, and powdered sugar until smooth.
- Spread this mixture over the shortbread layer before adding the chocolate coating.
This combination of buttery shortbread, sweetened peanut butter, and chocolate will have your taste buds dancing. You can explore more peanut butter options here.
Vegan Twix Bars
For all my plant-based pals, you can enjoy Homemade Twix Bars without the animal products! Here’s how:
-
Shortbread Base: Use coconut oil in place of butter and a plant-based milk like almond or oat for the caramel.
-
Caramel Layer: Blend dates with a splash of coconut milk for a creamy, vegan caramel. Just soak the dates in warm water before blending for an irresistibly smooth texture.
-
Chocolate Coating: Melt dark chocolate that’s dairy-free. Look for brands like Enjoy Life or Lily’s to keep it vegan.
These Vegan Twix Bars are rich in flavor and guilt-free. Check out more about vegan sweets here.
By trying these variations, you’re sure to impress friends and family on any occasion! So, which version are you most excited to make?
Cooking Tips and Notes for Homemade Twix Bars
Common pitfalls to avoid
When making your Homemade Twix Bars, it’s easy to stumble. Here are some common pitfalls to avoid:
- Overbaking the shortbread: Aim for a light golden color. Burnt edges can ruin the texture.
- Skipping the chilling time: Allow each layer to set properly in the fridge. Rushing this step can lead to a messy assembly.
- Not measuring ingredients accurately: Precision is key in baking! A kitchen scale can help ensure your ingredients are just right.
Ingredient substitutions
Flexibility in your recipe can lead to delicious discoveries! Consider these substitutions:
- For a gluten-free option, swap regular flour with almond or coconut flour.
- Instead of heavy cream in the caramel, you can use coconut cream for a dairy-free alternative.
- If you’re low on chocolate, mix dark chocolate with a little bit of vegetable oil to achieve a smoother consistency for dipping.
Experimenting with these substitutions can make your Homemade Twix Bars unique and still scrumptious. For more ingredient tips, check out Love and Lemons.
Serving Suggestions for Homemade Twix Bars
Ideal Pairing Ideas
Enjoying Homemade Twix Bars isn’t just about savoring the distinct layers of cookie, caramel, and chocolate; it’s also about elevating your tasting experience. Here are some delightful pairing suggestions to consider:
-
Coffee: A rich cup of coffee enhances the sweetness of the bars, providing a lovely balance. Whether you prefer espresso or a latte, the bitterness complements the rich chocolate perfectly.
-
Tea: For a lighter option, a cup of English Breakfast or chai tea can add a fragrant spice that pairs beautifully with the caramel layer.
-
Fresh Fruits: Try serving your Twix bars with a side of berries; their tartness cuts through the sweetness, creating a balanced treat.
How to Display Your Twix Bars
Presentation matters when it comes to desserts! Here’s how to make sure your Homemade Twix Bars shine:
-
Plate it Right: Use a nice dessert platter or wooden board to make your bars stand out. Arrange them neatly to create a visual appeal.
-
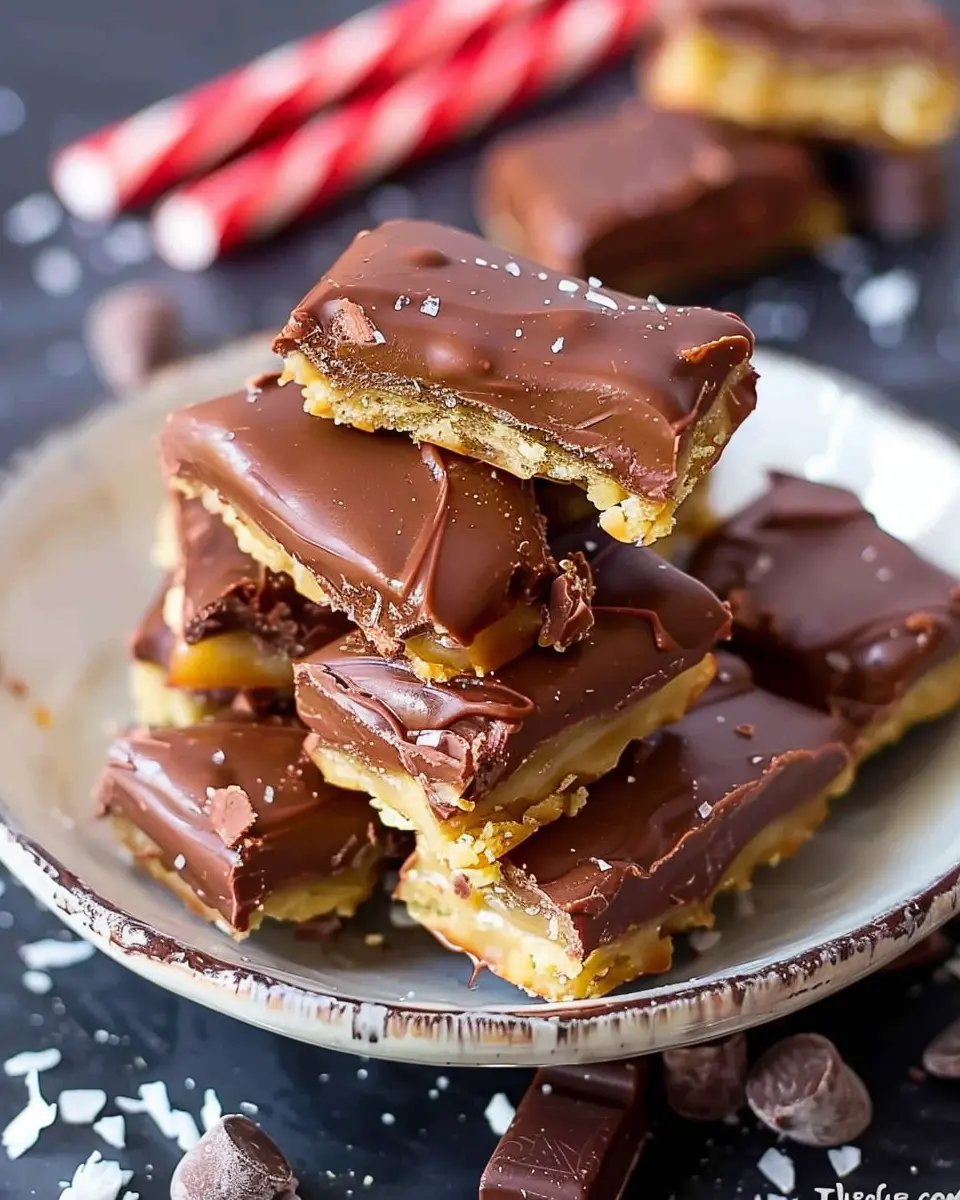
Garnish: Consider adding a sprinkle of sea salt or a drizzle of melted chocolate over the top for that professional finish.
-
Creative Serving: Place your bars in cupcake liners for a fun, festive look. This makes them perfect for parties or gatherings.
For more inspiration on dessert presentations, check out this helpful guide on dessert displays. Enjoying Homemade Twix Bars is about making memories, so get creative!
Time Breakdown for Homemade Twix Bars
When diving into the world of Homemade Twix Bars, it’s key to plan your time. Here’s how long you should expect to spend on this delightful treat.
Preparation time
First things first, set aside about 20 minutes for preparation. This includes gathering your ingredients, melting the chocolate, and mixing the caramel. A little prep goes a long way to ensure a smooth baking experience!
Cooking time
The cooking time is fairly short—around 15 to 20 minutes. This includes baking the cookie layer and allowing everything to set properly. Pro tip: patience is important during this step to achieve that perfect layer consistency.
Total time
Altogether, you’re looking at a total of approximately 1 hour (including cooling time). By breaking it down, you can enjoy the process of making your Homemade Twix Bars without feeling rushed. Why not give your kitchen a little love today? For more tips on dessert-making, check out this great resource for inspiration!
Nutritional Facts for Homemade Twix Bars
When indulging in Homemade Twix Bars, it’s essential to consider their nutritional profile. These delightful treats offer a balance of sweetness and texture, but moderation is key.
Calories
One serving of Homemade Twix Bars generally contains about 200 calories. This can vary depending on your ingredients, especially if you opt for healthier substitutes. To keep things in check, think about portion sizes if you’re watching your intake.
Sugar Content
Each bar packs around 15 grams of sugar. While this contributes to their irresistible taste, it’s wise to be mindful of your overall daily sugar consumption—aim for less than 25 grams from added sugars according to the American Heart Association.
Fat Content
On the fat front, expect approximately 10 grams per serving. Most of this comes from the chocolate and buttery caramel, which adds a luscious mouthfeel. As always, using high-quality ingredients will not only enhance flavor but can also impact the nutritional value.
For more detailed guidance on making healthier choices, consider exploring resources like the USDA’s MyPlate or Healthline for balanced nutrition tips. Enjoy your Homemade Twix Bars in moderation, and savor every bite!
FAQs about Homemade Twix Bars
Can I make these bars ahead of time?
Absolutely! One of the best things about Homemade Twix Bars is that they can be prepared in advance. You can assemble and chill them a day or even two ahead of when you plan to serve them. In fact, letting them set for a little longer can enhance those delicious flavors. Just keep them stored properly until you’re ready to enjoy or share them!
How long do homemade Twix bars last?
When stored correctly, Homemade Twix Bars will stay fresh for about 5 to 7 days. However, they may get a bit chewy over time due to the caramel. To make sure you savor them at their best, try to consume them within the first week.
What’s the best way to store them?
For optimal freshness, place your homemade bars in an airtight container. You can also separate layers of bars with parchment paper to prevent them from sticking together. If you want to keep them for longer, consider freezing them. Just wrap each bar tightly in plastic wrap and place them in a freezer-safe container or bag. You can enjoy them straight from the freezer or let them thaw in the fridge for a few hours before indulging again.
If you’re interested in other sweet treats or would like to explore more dessert ideas, check out Taste of Home or Bon Appétit for inspiration and recipes!
Conclusion on Homemade Twix Bars
In wrapping up our delightful journey into Homemade Twix Bars, it’s clear that making these sweet treats at home is not only fulfilling but also incredibly fun! The layered combination of buttery shortbread, creamy caramel, and rich chocolate creates a flavor explosion that rivals store-bought versions. Plus, you get to personalize the ingredients and even experiment with flavors.
So, whether you’re preparing for a party or just craving a nostalgic snack, these bars are a perfect choice. Give them a try and impress your friends. Want to explore more homemade sweet treats? Check out this link for inspiration!
Print
Homemade Twix Bars: The Best Indulgent Treat You Can Make
Delicious and easy-to-make homemade Twix bars, perfect for satisfying your sweet tooth.
- Total Time: 35 minutes
- Yield: 12 bars 1x
Ingredients
- 1 cup unsalted butter
- 1 cup granulated sugar
- 2 cups all-purpose flour
- 1/2 cup sweetened condensed milk
- 1 cup chocolate chips
- 1/4 cup caramel sauce
Instructions
- Preheat oven to 350°F (175°C).
- In a bowl, beat butter and sugar until creamy.
- Add flour and mix until combined. Press dough into a baking dish.
- Bake for 20 minutes or until golden.
- Pour sweetened condensed milk over baked crust.
- Drizzle caramel sauce on top.
- Sprinkle chocolate chips evenly and return to oven until melted.
- Allow to cool, then cut into bars.
Notes
- For extra flavor, you can add a pinch of salt to the dough.
- Store in an airtight container to keep them fresh.
- Prep Time: 15 minutes
- Cook Time: 20 minutes
- Category: dessert
- Method: baking
- Cuisine: American
- Diet: vegetarian
Nutrition
- Serving Size: 1 bar
- Calories: 250
- Sugar: 18g
- Sodium: 150mg
- Fat: 12g
- Saturated Fat: 7g
- Unsaturated Fat: 3g
- Trans Fat: 0g
- Carbohydrates: 30g
- Fiber: 1g
- Protein: 2g
- Cholesterol: 30mg
Keywords: Homemade Twix Bars, dessert, chocolate, bars, treats