1. Introduction
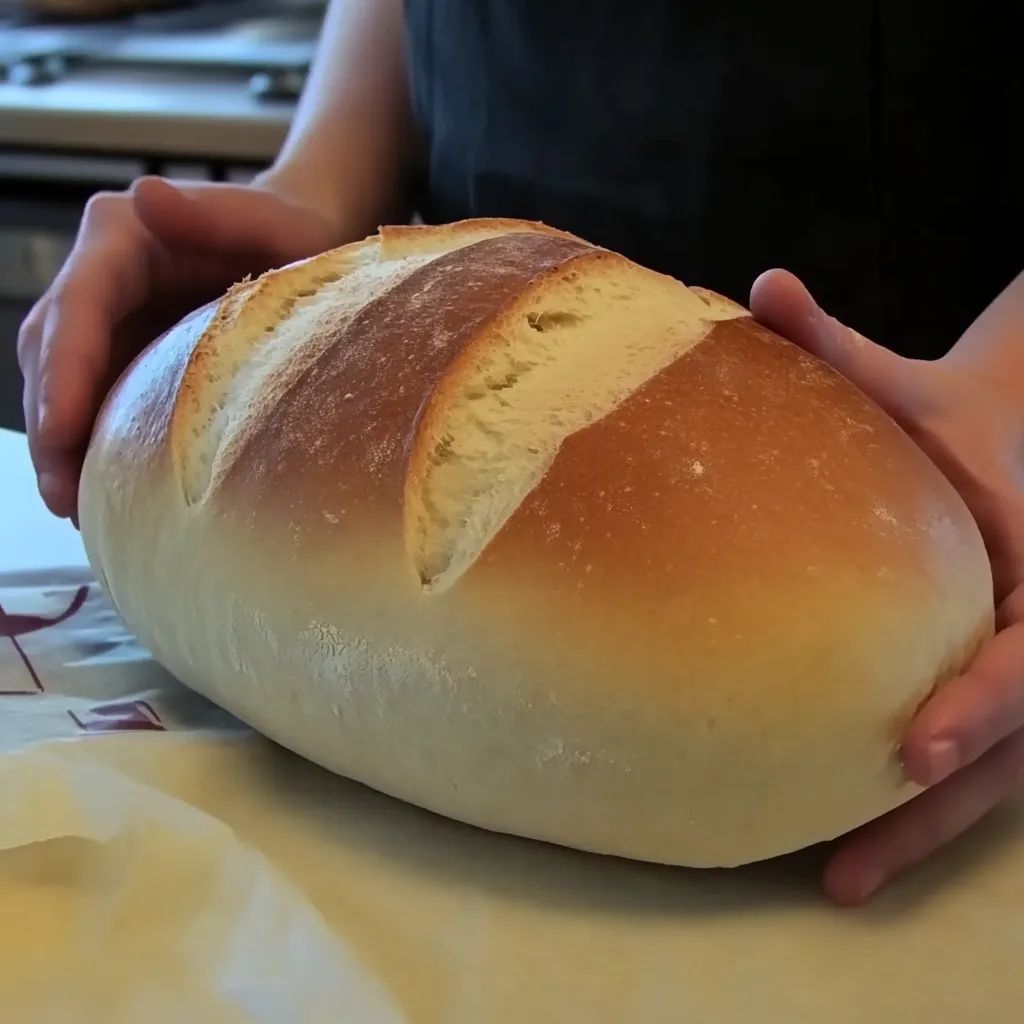
Homemade white bread has long been a staple in kitchens around the world, offering a warm, comforting experience that store-bought loaves often lack. Making your own white bread allows you to appreciate the simplicity and satisfaction of baking, filling your home with an irresistible aroma and providing a fresher alternative to packaged varieties.
When it comes to creating your own bread, the idea of making something truly “easy” is crucial. Easy white bread recipes are defined by their simplicity, short preparation times, and minimal equipment requirements. Unlike artisan loaves that demand lengthy fermentation or intricate folding techniques, an easy version focuses on basic ingredients and straightforward steps. With the right tips and a little guidance, anyone can bake a delicious, soft white bread without feeling overwhelmed.
2. Why Make Your Own White Bread?
Choosing to bake your own white bread comes with several compelling advantages that go beyond just taste. Here’s why you should consider trying it:
-
Healthier Ingredients Control
When you make bread at home, you have complete control over what goes into it. Commercial breads often include preservatives, artificial flavors, and unnecessary sugars. By baking it yourself, you can choose high-quality flour (choosing the right flour) and natural ingredients to create a loaf that fits your dietary needs and tastes better. -
Fresher Taste
Nothing compares to the taste and texture of freshly baked bread. Store-bought bread, even when labeled as fresh, cannot match the flavor profile of a loaf pulled straight from your oven. Moreover, understanding the science behind yeast and bread baking (science behind yeast and bread baking) can help you achieve better results and a fluffier crumb. -
Cost-Effective Compared to Store-Bought
Baking your own bread can be significantly more economical in the long run. A simple loaf uses inexpensive ingredients, and the per-loaf cost drops dramatically compared to premium store-bought options. Plus, you save money while gaining the satisfaction of making something truly homemade.3. Essential Ingredients for Easy White Bread
Making easy white bread starts with a few key ingredients. Each plays a specific role in building flavor, texture, and structure.
Choosing the Right Flour
All-purpose flour forms the base of the dough, providing the necessary structure for a soft and airy loaf. Using high-quality flour ensures better gluten development. To select the best type for your bread, refer to choosing the right flour.
Understanding Yeast Types
Yeast is the engine behind the bread’s rise.
-
Instant yeast can be mixed directly with dry ingredients.
-
Active dry yeast needs to be dissolved in warm water first.
Both yeasts work well, but instant yeast simplifies the process for beginners.
The Role of Sugar and Salt
-
Sugar feeds the yeast, helping the dough rise efficiently while adding a slight touch of sweetness.
-
Salt strengthens the dough’s structure and balances flavor.
Skipping salt or using too much can drastically change the final bread’s texture.
Liquids: Water and Milk
A combination of warm water and warm milk hydrates the flour, activates the yeast, and softens the bread’s crumb. Milk adds richness and helps produce a tender, flavorful loaf.
Fats: Butter or Oil
Butter or oil enriches the dough, creating a softer crumb and helping to keep the bread fresh longer.
Incorporating fats at the right stage also impacts how the dough develops, as explained in the science behind yeast and bread baking.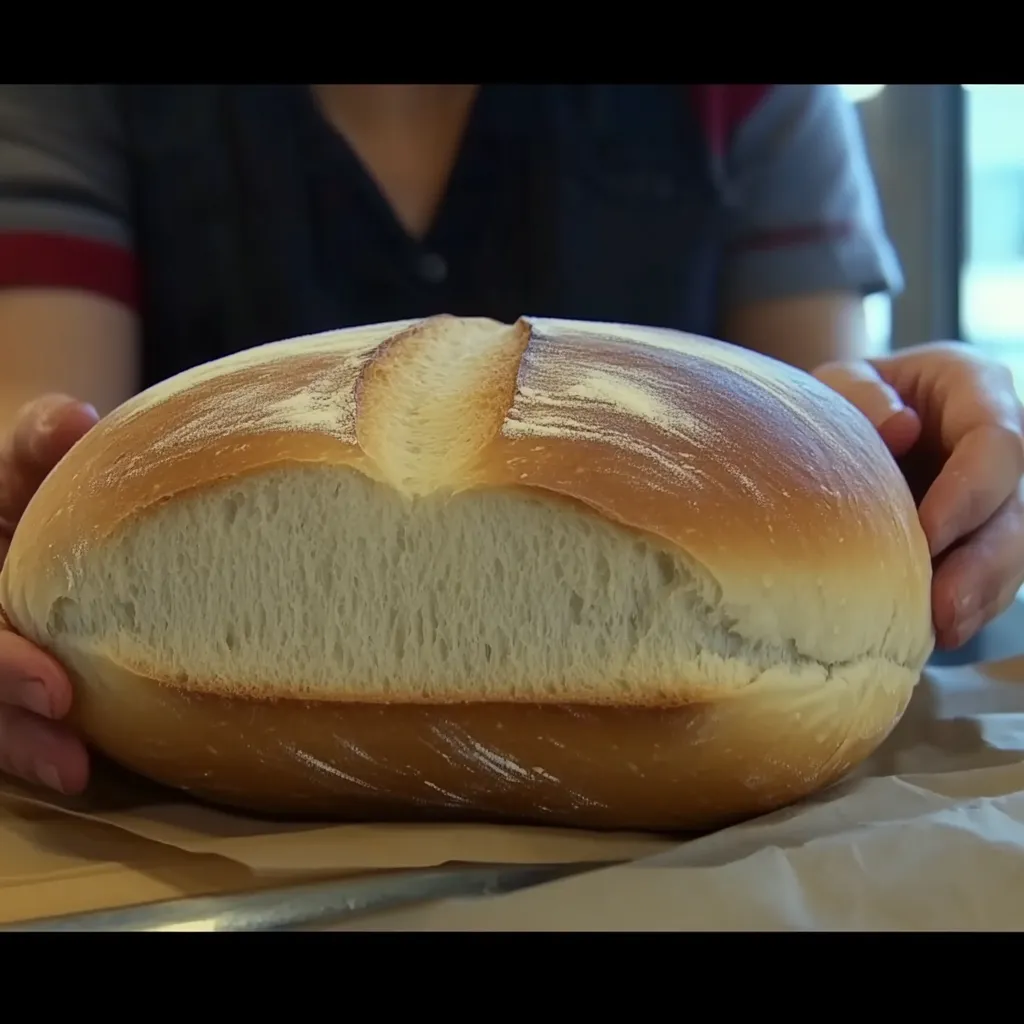 4. Equipment You’ll Need
While making easy white bread is straightforward, having the right tools can make the process even smoother and more enjoyable:
-
Mixing Bowl
A sturdy mixing bowl is essential for combining your ingredients efficiently and providing enough space for the dough to rise. -
Dough Scraper
A flexible dough scraper helps you manage sticky dough, clean work surfaces, and shape the dough easily without adding extra flour. -
Loaf Pan
Baking in a loaf pan ensures that your bread holds a uniform shape and bakes evenly. Choose a quality nonstick pan for best results. -
Kitchen Towel or Plastic Wrap
Covering the dough with a kitchen towel or plastic wrap during proofing maintains the necessary humidity, allowing the dough to rise properly without drying out.
Having these basic tools ready can make the difference between an average loaf and a truly outstanding homemade bread.
5. Step-by-Step Guide: How to Make Easy White Bread
Making easy white bread at home is simple if you break it down into manageable steps. Each phase plays an important role in achieving a light, fluffy loaf with a tender crumb.
-
Step 1: Preparing the Yeast
Begin by activating your yeast if using active dry yeast. In a small bowl, mix the yeast with warm water (about 110°F) and a pinch of sugar. Let it sit for 5–10 minutes until it becomes frothy. If you are using instant yeast, you can mix it directly with the dry ingredients without pre-activating it. For more insight into yeast behavior, check the science behind yeast and bread baking. -
Step 2: Mixing Ingredients
In a large mixing bowl, combine the flour, sugar, and salt. Add the activated yeast mixture (or instant yeast), followed by warm water, milk, and softened butter or oil. Stir until a shaggy dough forms. Selecting high-quality flour (choosing the right flour) at this stage makes a noticeable difference in the final texture of your bread. -
Step 3: Kneading Tips for Beginners
Turn the dough onto a lightly floured surface. Knead it by pressing down and folding it over itself repeatedly for about 8–10 minutes. If the dough feels too sticky, use a dough scraper instead of adding more flour. Proper kneading develops gluten, which is crucial for a strong yet tender structure. -
Step 4: First Proof/Rising
Place the kneaded dough into a greased bowl and cover it with a kitchen towel or plastic wrap. Let it rise in a warm spot until it doubles in size, typically 60–90 minutes. A proper proof is vital for achieving that soft, fluffy bread texture. -
Step 5: Shaping the Loaf
After the first rise, gently punch down the dough to release gas bubbles. Shape it into a loaf by flattening the dough into a rectangle, then rolling it tightly into a log shape. -
Step 6: Second Proof
Place the shaped dough seam-side down into a greased loaf pan. Cover and let it rise again until it reaches about 1 inch above the rim of the pan, usually about 30–45 minutes. -
Step 7: Baking and Cooling
Preheat your oven to 375°F (190°C). Bake the loaf for 30–35 minutes, until the top is golden brown and the bread sounds hollow when tapped. After baking, remove the bread from the pan and cool it on a wire rack completely before slicing to maintain a soft crumb and prevent a gummy interior.
By following these clear steps, you’ll produce a homemade white bread that rivals anything you can find in stores — fresher, softer, and completely tailored to your taste.
 6. Tips for the Perfect White Bread Every Time
Creating perfect white bread isn’t just about following a recipe—it’s about paying attention to the small details that make a big difference.
-
Right Flour Type
Using the correct flour is crucial for texture and structure. Opt for a strong all-purpose flour or a bread flour with higher protein content. For guidance on selecting the ideal flour, refer to this guide on choosing the right flour. -
Importance of Dough Hydration
Maintaining the right dough hydration ensures a soft and airy crumb. If the dough feels dry or stiff, add a little extra water, a tablespoon at a time. Understanding the science of baking bread (science behind yeast and bread baking) can help you master hydration levels for consistent success. -
Proofing Environment
A warm, slightly humid environment helps the dough rise properly. Avoid drafty areas, and cover the dough with a kitchen towel or plastic wrap to retain moisture during proofing.
With a focus on these three elements, even a basic white bread recipe will turn out beautifully soft and flavorful every time.
7. Variations and Add-ins for White Bread
Once you’ve mastered easy white bread, adding small twists can create exciting new flavors and textures without complicating the process.
-
Adding Honey or Herbs
A spoonful of honey mixed into the dough gives the bread a natural sweetness and softer texture. Alternatively, finely chopped fresh herbs like rosemary or thyme can be kneaded into the dough before shaping for a fragrant, savory loaf. When adjusting ingredients, remember to maintain a balance with hydration to preserve the perfect crumb. -
Cheese Swirl or Cinnamon Versions
To make a cheese swirl bread, sprinkle shredded cheese over the flattened dough before rolling it into a loaf. For a cinnamon version, brush the dough lightly with butter and sprinkle a mix of cinnamon and sugar before rolling. Mastering these flavorful adaptations is easier once you understand how slight adjustments impact dough behavior, as explained in the science behind yeast and bread baking.
Experimenting with variations keeps baking fun and allows you to customize white bread to suit every occasion or craving.
8. How to Store Homemade White Bread
Properly storing homemade white bread ensures it stays fresh and delicious for as long as possible. Without preservatives, fresh bread needs careful handling.
-
Proper Wrapping
Once cooled completely, wrap the loaf tightly in a kitchen towel or place it inside a paper bag to maintain its crust while preventing it from drying out. Avoid sealing it in plastic unless you plan to eat it quickly, as this traps moisture and can cause the bread to become soggy. -
Freezing Instructions
For longer storage, slice the bread and place it in a freezer-safe bag, squeezing out as much air as possible. Frozen white bread retains its quality for up to three months. Thaw slices at room temperature or toast them directly from frozen for the best texture. Understanding bread structure and moisture balance (science behind yeast and bread baking) can help you freeze and revive bread more successfully.
9. Common Problems and Troubleshooting
Even the best bakers encounter issues when making white bread. Knowing the causes and solutions helps you correct mistakes and improve with every bake.
-
Dense Bread Solutions
Dense, heavy bread often results from under-kneading or using low-protein flour. Knead thoroughly to develop strong gluten strands and choose a reliable flour (choosing the right flour) that supports a good rise. -
Overproofing vs. Underproofing
Proper proofing is critical. Overproofed dough becomes too weak to hold its shape and collapses, while underproofed dough leads to small, tight crumbs. Aim for dough that has doubled in size and springs back slowly when pressed gently. -
How to Fix Dry Bread
Dry bread typically results from overbaking or low hydration. To avoid this, monitor baking times carefully and maintain the right moisture levels during mixing. If your kitchen is particularly dry, adjusting hydration based on the science of dough handling (science behind yeast and bread baking) can lead to consistently softer loaves.
Addressing these common issues ensures that every loaf you bake improves and becomes even more enjoyable.
 10. FAQs
-
How long does homemade white bread last?
Freshly baked white bread typically lasts 3 to 4 days at room temperature if properly wrapped. Store it in a kitchen towel or paper bag to maintain freshness without trapping excess moisture. If you need longer storage, freezing is the best option (science behind yeast and bread baking). -
Can you freeze white bread?
Yes, white bread freezes extremely well. Slice the loaf first and store it in a freezer-safe bag. Remove as much air as possible to prevent freezer burn. Bread stored properly can last up to three months and can be toasted directly from frozen for best results. -
Why is my white bread dense and heavy?
A dense loaf often results from insufficient kneading or improper proofing. To avoid dense bread, use high-quality flour (choosing the right flour) and make sure the dough has developed enough gluten before baking. -
How do I know when the bread is fully baked?
Fully baked white bread should be golden brown and sound hollow when tapped on the bottom. You can also check with a thermometer—internal temperature should reach around 190°F (88°C). -
Can I use whole wheat flour instead?
Yes, but keep in mind that whole wheat flour absorbs more liquid and produces a denser loaf. You may need to adjust hydration and kneading times. Starting with a half-and-half mix of white and whole wheat flour often gives a better balance between softness and nutrition. -
Is it necessary to knead the dough by hand?
No, you can use a stand mixer fitted with a dough hook. However, kneading by hand gives you better control over dough development and helps you learn the signs of readiness, such as smoothness and elasticity. -
What makes white bread soft and fluffy?
Achieving a soft and fluffy texture depends on proper kneading, correct hydration, and allowing the dough to proof adequately. Incorporating ingredients like milk and butter also enriches the dough, making it tender and light.
11. Conclusion
Baking your own easy white bread is a rewarding experience that brings the simple pleasure of homemade food to your kitchen. With just a few basic ingredients and tools, you can create a loaf that tastes better and feels more satisfying than anything store-bought.
If you’re just starting out, remember to focus on the fundamentals: choose a good flour (choosing the right flour), pay attention to dough hydration, and give your dough enough time to proof. These small details, supported by understanding the science of baking bread, make all the difference.
-
Final Tip for First-Time Bakers
Don’t stress about perfection. Even if your first loaf isn’t flawless, every attempt teaches you something new. With practice, your homemade white bread will only get better—lighter, softer, and more delicious every time.
Easy White Bread Recipe
A soft, fluffy, and simple homemade white bread recipe that’s perfect for beginners. Minimal ingredients and easy steps make it a go-to bread for everyday meals.
- Total Time: 2 hours 30 minutes
- Yield: 1 loaf 1x
Ingredients
ScaleIngredients
-
3 ½ cups all-purpose flour
-
2 ¼ teaspoons instant yeast (or active dry yeast)
-
2 tablespoons sugar
-
1 ½ teaspoons salt
-
1 cup warm water (about 110°F)
-
½ cup warm milk
-
2 tablespoons unsalted butter (softened) or oil
Instructions
-
If using active dry yeast, dissolve yeast and a pinch of sugar in warm water; let it sit until frothy.
-
In a large mixing bowl, combine flour, sugar, and salt.
-
Add the yeast mixture (or instant yeast), warm milk, and butter. Stir to form a shaggy dough.
-
Turn out onto a lightly floured surface and knead for 8–10 minutes until smooth and elastic.
-
Place dough in a greased bowl, cover with a kitchen towel, and let it rise until doubled (about 1–1.5 hours).
-
Punch down dough, shape into a loaf, and place in a greased loaf pan.
-
Cover and let rise again for 30–45 minutes.
-
Preheat oven to 375°F (190°C). Bake for 30–35 minutes until golden brown.
-
Cool completely on a wire rack before slicing.
Notes
-
If your kitchen is cold, place the dough inside an oven with the light on (but oven turned off) to proof.
-
For richer flavor, you can substitute 2 tablespoons of honey for the sugar.
-
Let the bread cool completely before slicing to avoid a gummy texture.
- Prep Time: 20 minutes
- Cook Time: 30–35 minutes
- Category: Bread
- Method: Baking
- Cuisine: American
- Diet: Vegetarian
Nutrition
- Calories: 160 kcal
- Sugar: 2g
- Sodium: 210mg
- Fat: 3g
- Saturated Fat: 1.5g
- Carbohydrates: 28g
- Fiber: 1g
- Protein: 4g
- Cholesterol: 8mg
-