Introduction to Artisan Bread Recipe
Why Making Artisan Bread is a Game Changer for Young Professionals
In a fast-paced world dominated by takeout and pre-packaged meals, crafting your own artisan bread can feel like a quiet revolution. For young professionals juggling demanding careers and social lives, baking bread might seem like a luxury, yet it’s much more beneficial than you’d think. The act of kneading, measuring, and waiting as dough rises isn’t just a cooking venture; it’s a therapeutic experience that can help you unwind after a long day.
Imagine walking into your home, greeted not by fast food odors, but by the warm, comforting scent of freshly baked bread. Not only can homemade artisan bread elevate your meals—be it a cozy solo dinner or a casual gathering with friends—but it also reconnects you with the simple pleasures of life. A study from the American Institute for Cancer Research found that cooking at home can lead to healthier eating habits and better overall well-being.
The Joy of Homemade Bread in a Fast-Food World
In a society overflowing with fast food options, the satisfaction of creating something nutritious with your own hands is unmatched. When you follow an artisan bread recipe, you have control over every ingredient. Want to avoid additives or preservatives? Go ahead! Prefer using whole grains or experimenting with herbs? The choice is yours.
Homemade bread also brings people together. Whether it’s sharing warm slices with your roommates or bringing a loaf to a potluck, the joy that comes from sharing food is a universal connector. To make it even easier, you can find a wealth of resources online, such as tutorials on bread making or handy tips for perfecting your dough rise.
So, if you ever find yourself craving something good and wholesome, why not knead out some dough and engage in this delightful culinary craft? You’ll not only end up with delicious bread but might also find it becomes a cherished part of your routine. Join the movement of homemade meals, and immerse yourself in the joy of artisan bread-making!
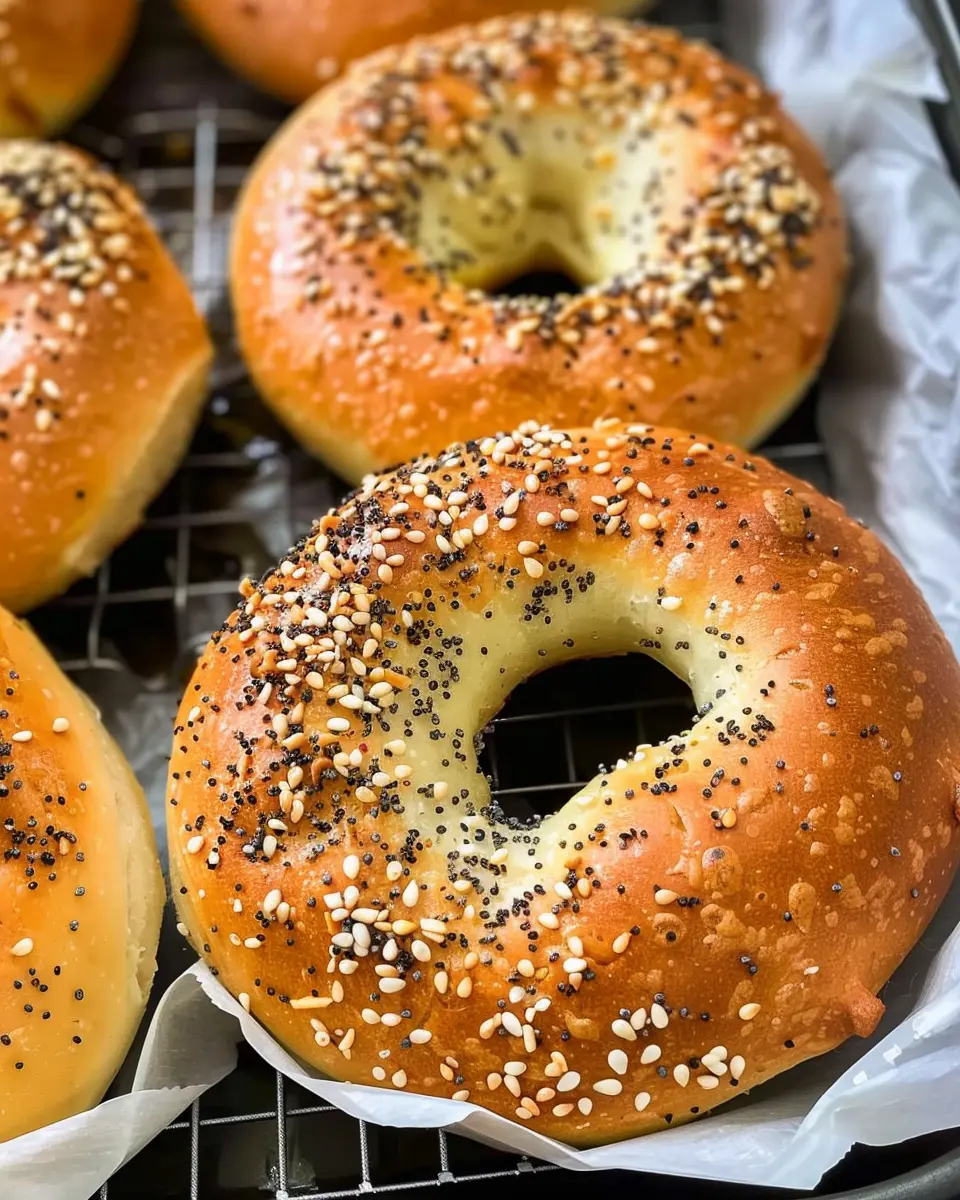
Ingredients for Artisan Bread Recipe
The simplicity of essential ingredients
Creating a fantastic artisan bread recipe starts with a few essential ingredients that are surprisingly simple. Here’s what you’ll need:
- Flour: A high-protein bread flour works best, giving your bread that delightful structure.
- Water: Use lukewarm water to help activate the yeast.
- Yeast: Instant or active dry yeast will do the trick, lending a lovely rise to your dough.
- Salt: Just a pinch enhances the flavor and strengthens the bread structure.
These ingredients form the backbone of your bread. The magic happens when you combine them and let them work their wonders. For a deeper dive into the science of bread-making, check out articles on King Arthur Baking or BBC Good Food.
Optional ingredients for added flavor and texture
Want to take your bread to the next level? Consider incorporating some optional ingredients:
- Herbs: Fresh or dried herbs like rosemary or thyme add a fragrant touch.
- Seeds: Pumpkin or sunflower seeds offer a delightful crunch and extra nutrition.
- Cheese: Grated cheese, such as cheddar or Parmesan, can bring a savory richness to your loaf.
Feel free to experiment with these additions, keeping in mind that less can often be more. The beauty of an artisan bread recipe lies in its versatility—make it uniquely yours! Happy baking!
Step-by-step Preparation of Artisan Bread
Baking artisan bread at home is a rewarding experience that fills your kitchen with warmth and the delightful aroma of fresh bread. Let’s walk through the steps you need to follow to create a loaf that not only tastes fantastic but also looks stunning. Ready? Let’s dive in!
Gather your ingredients and tools
Before you get started on your artisan bread recipe, it’s essential to gather all the necessary ingredients and tools. You will need:
-
Ingredients:
-
3 cups of bread flour
-
1 ½ teaspoons of salt
-
1 teaspoon of active dry yeast
-
1 ¼ cups of warm water (about 110°F/43°C)
-
Tools:
-
Large mixing bowl
-
Wooden spoon or dough whisk
-
Clean kitchen towel
-
Baking sheet or Dutch oven
-
Parchment paper (optional)
Having everything on hand will streamline the process, making your baking experience much more enjoyable. No one wants to search for ingredients mid-way through mixing!
Mixing the dry ingredients
Start by combining your dry ingredients in the large mixing bowl:
- Pour in the bread flour and arrange it into a mound.
- Add the salt and then sprinkle the yeast evenly over the top.
Mix these dry ingredients gently with a wooden spoon or dough whisk until there are no clumps. It’s crucial not to let the salt come into direct contact with the yeast before adding water as it can inhibit fermentation.
Combining with warm water
Now it’s time to bring your ingredients together. Gradually pour the warm water into your dry mixture, stirring as you go. It should start clumping together to form a shaggy dough. Perhaps you’ve heard about this “no-knead” method — that’s exactly what we’re going for!
Don’t be alarmed if it seems a bit messy. The dough will come together beautifully during the rising process.
Letting the dough rise (and why patience is key)
Cover the bowl with a clean kitchen towel and let your dough rise in a warm location for about 12-18 hours. Yes, you read that right!
This long fermentation period is what enhances the bread’s flavor and texture. As the dough sits, it develops gluten, which gives bread that elastic quality we love. If you’re curious about the science behind bread-making, check out this article on bread fermentation for more insights.
Shaping the dough for its final rise
After the long wait, it’s time to shape your dough. Dust your countertop with flour, turn the dough out onto it, and gently stretch and fold it into a ball.
Let it rest for another 30 minutes on the counter, covered with a towel. This step ensures that your dough rehydrates and gains more structure before baking.
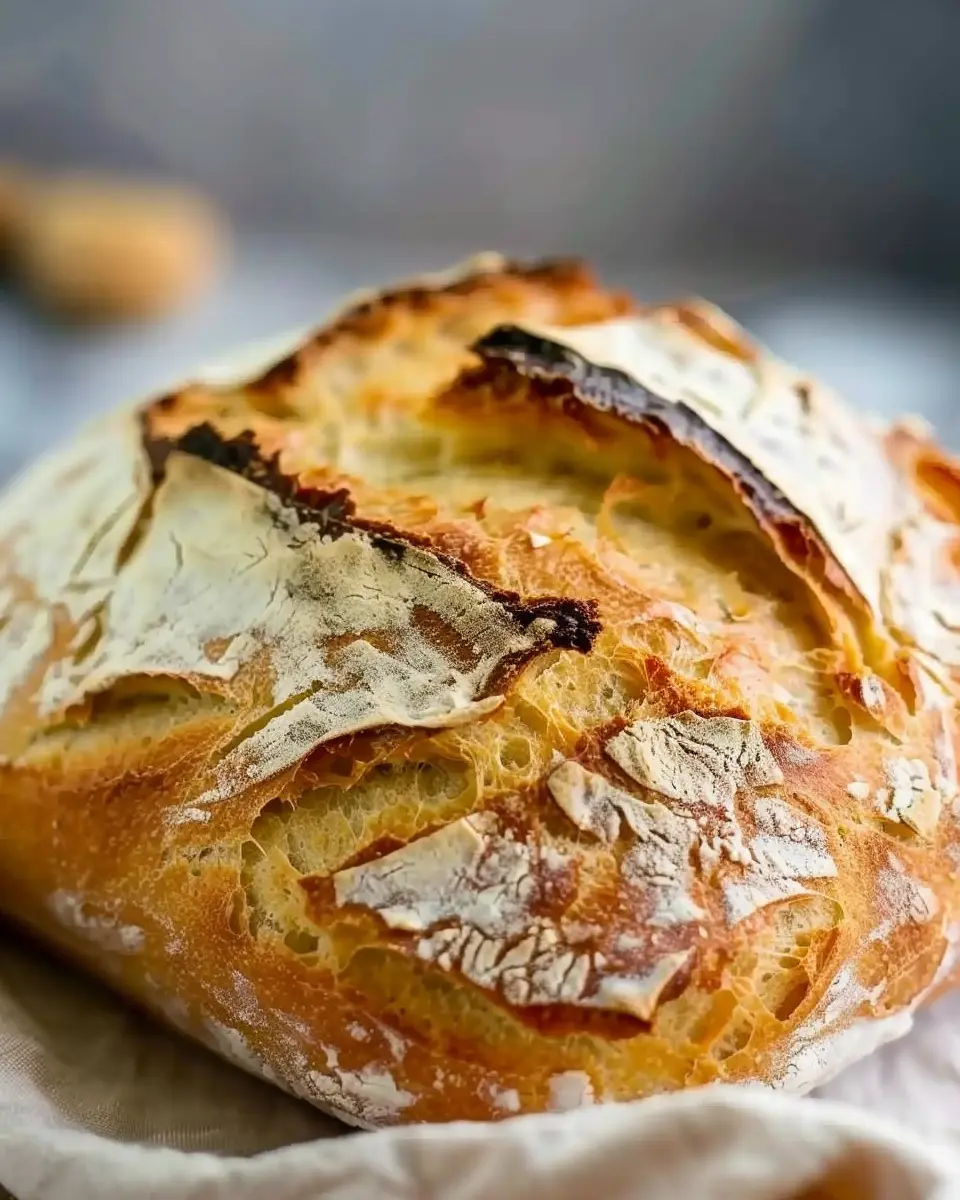
Preheating the oven for that perfect crust
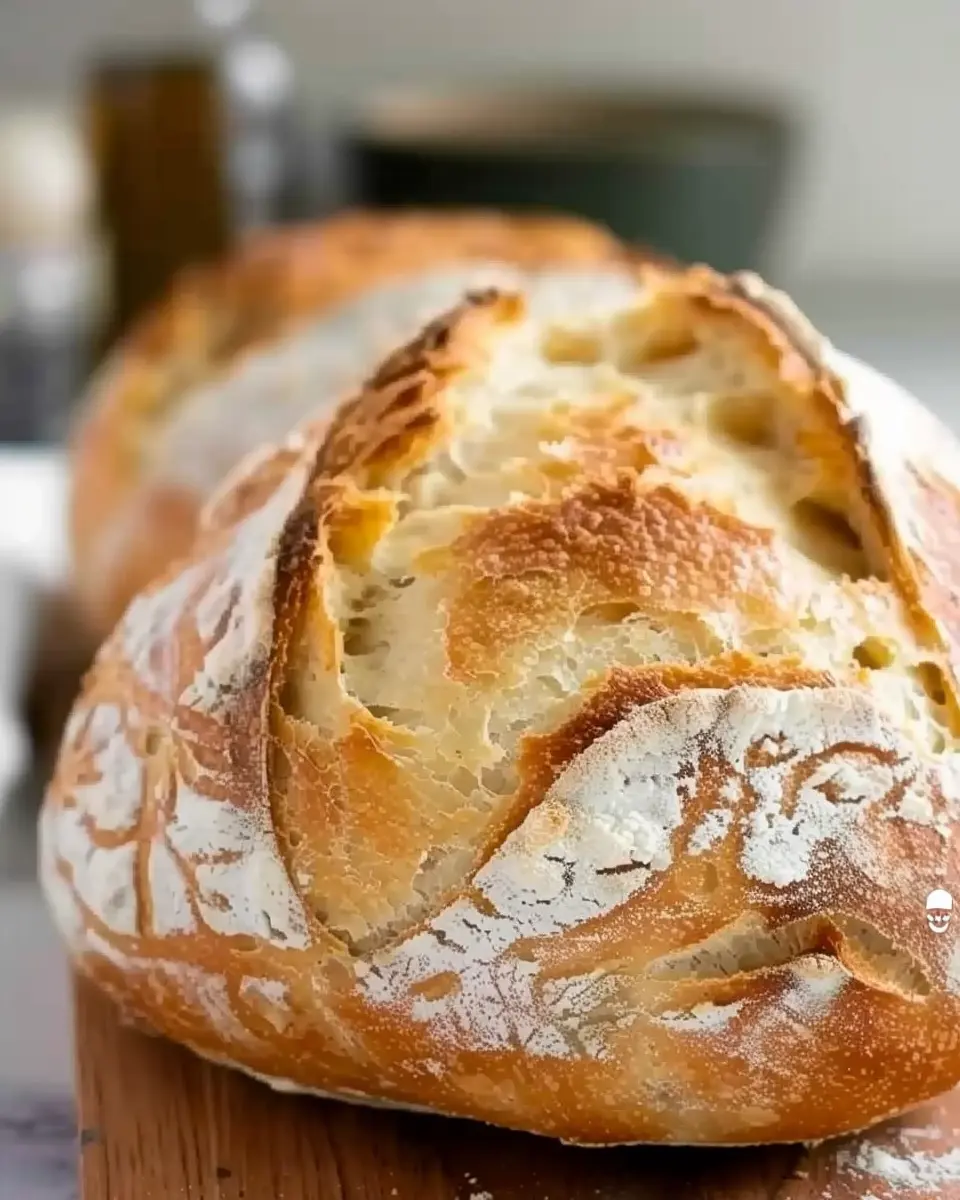
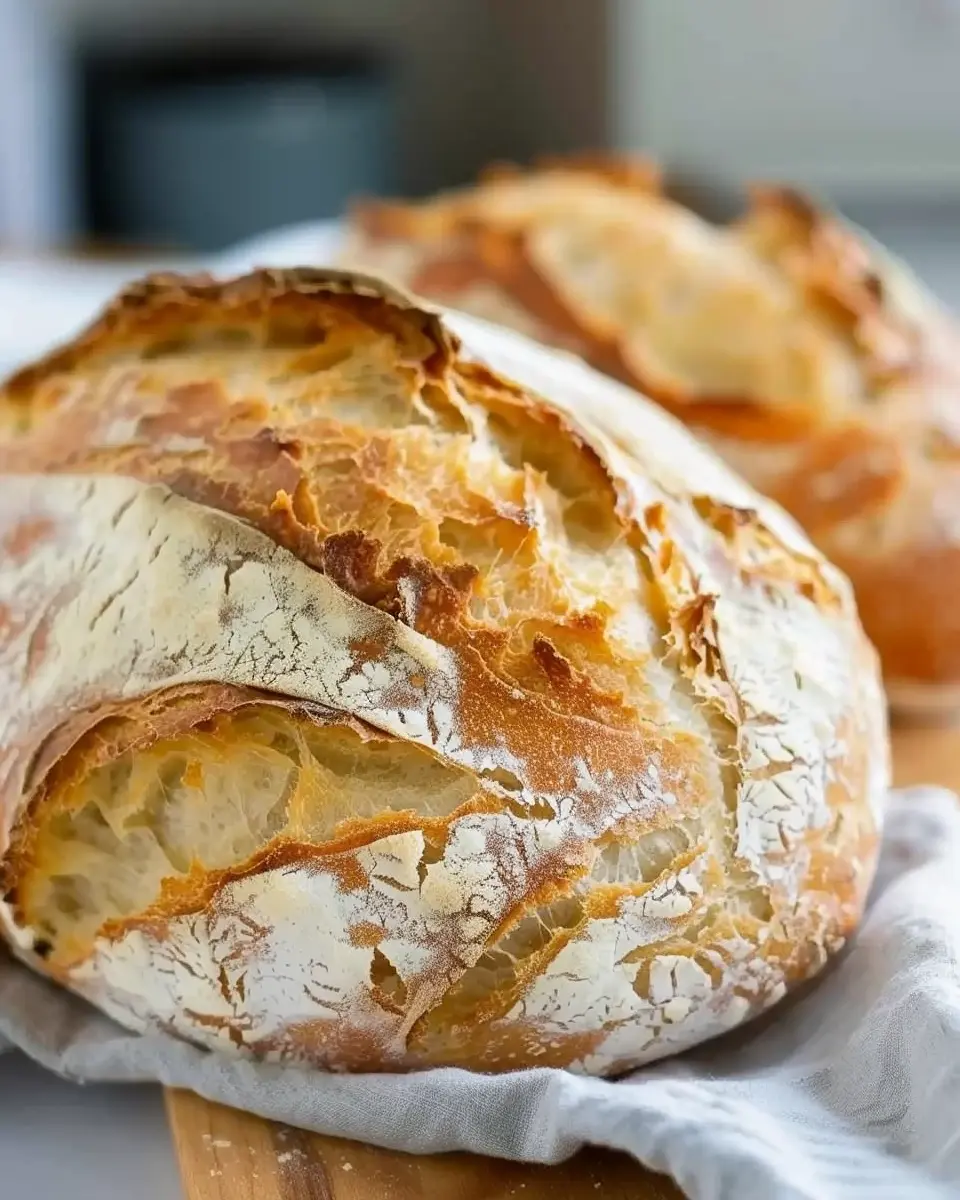
As your dough rests, preheat the oven to 450°F (232°C). If you’re using a Dutch oven, place it inside to heat up as well. A hot baking surface is essential for that crusty exterior we all admire in artisan bread.
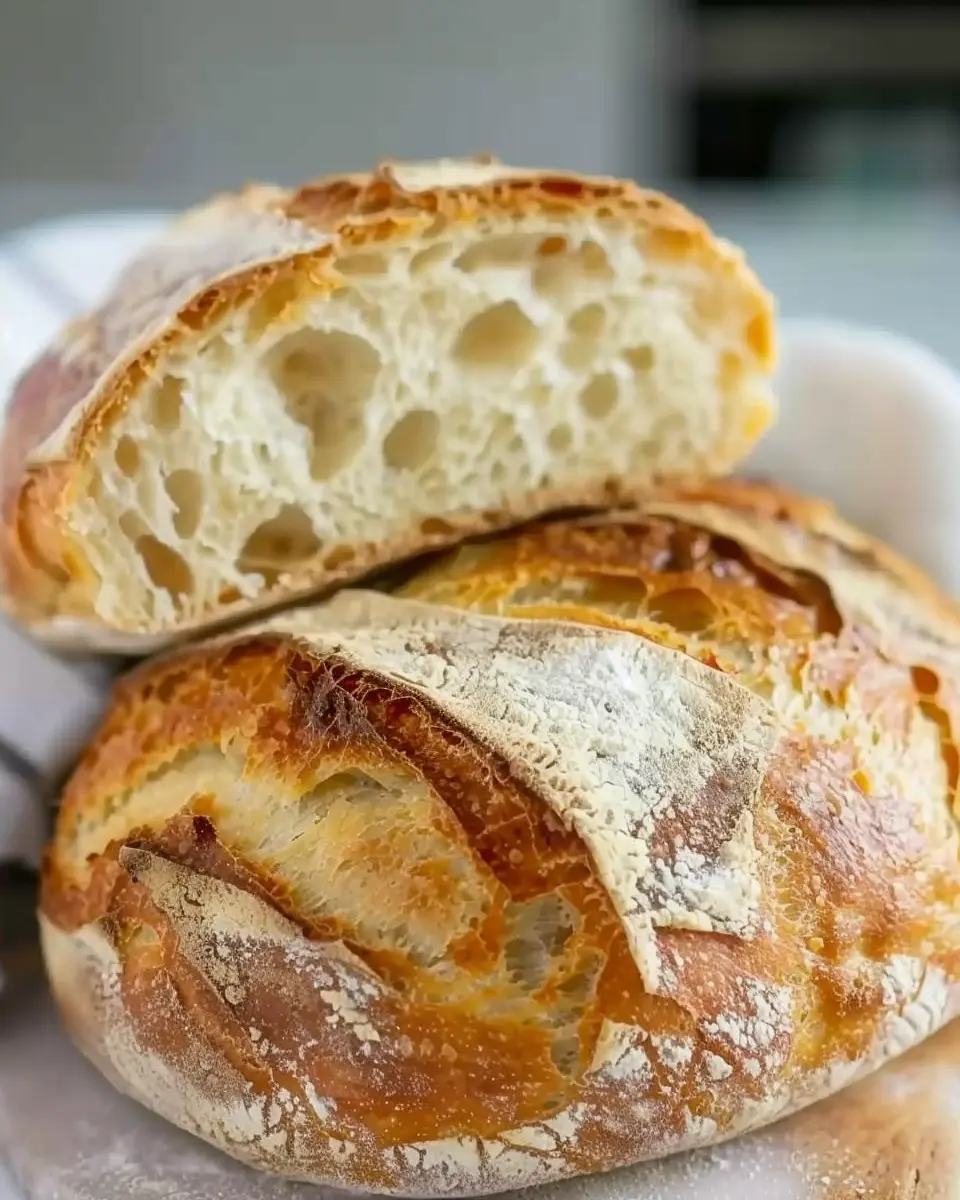
Baking the bread to golden perfection
After your dough has risen again, it’s showtime! Carefully remove the hot Dutch oven, and if you’re using a baking sheet, simply place the shaped dough on parchment paper.
Bake your loaf for about 30-40 minutes or until it is golden brown. You might want to use a kitchen thermometer to check that the internal temperature has reached 200°F (93°C).
Cooling and slicing the bread
Once baked, transfer your artisan bread to a wire rack and let it cool for at least 30 minutes. This step is vital for achieving the perfect texture. Slicing into hot bread can lead to a gummy crumb — we’d like to avoid that!
Once cooled, slice away and enjoy a beautifully crusty loaf!
With these steps, you’re well on your way to impressing your friends and family with your incredible baking skills. Embrace the art of bread-making, and who knows? You might just find your new favorite hobby!
Variations of Artisan Bread
Artisan bread is like a blank canvas, inviting creativity and personal flair. Once you’ve mastered the basic artisan bread recipe, it’s time to explore variations that can elevate both flavor and presentation.
Adding Herbs and Spices for a Flavorful Twist
Infusing your bread with herbs and spices can transform a simple loaf into a gourmet delight. Think about incorporating fresh rosemary, thyme, or even a pinch of garlic powder for an aromatic experience. You can also experiment with spices like cumin or coriander to give your bread a unique flavor. Not only does this add depth, but it also increases the health benefits—many herbs and spices are known for their antioxidant properties. A great resource to get inspired is The Spice House, which offers a myriad of options that can rejuvenate your baking routine.
Cheese and Olive Variations That Impress
For those who crave an indulgent touch, consider adding cheese and olives. You can fold in chunks of sharp cheddar or soft feta for a creamy texture, while a handful of kalamata or green olives can provide that savory punch. Imagine savoring warm slices of bread, oozing with melted cheese, perfect for serving with a justified glass of refreshing iced tea or sparkling water. Need ideas? Check out recipes from The Kitchn on how to pair flavors effectively.
Whole Wheat Alternatives for Health-Conscious Eaters
If you’re on a health-conscious journey, switching to whole wheat flour is a fantastic option. Whole wheat artisan bread recipes provide added fiber and nutrients but still deliver on taste. They create a denser, nutty flavor profile that’s perfect for sandwiches or just pairing with olive oil for dipping. Interested in making the switch? Expert nutritionists often recommend combining whole wheat flour with all-purpose flour for a lighter texture while still getting the wholesome benefits.
No matter which variation you choose, artisan bread can become a reflection of your personal tastes and preferences, making it a versatile addition to your menu!
Cooking Tips and Notes for Artisan Bread
How to Achieve the Right Dough Consistency
Getting that perfect dough consistency is crucial for your artisan bread recipe. Aim for a wet and slightly sticky dough. This creates those delightful air pockets. When mixing, look for smoothness without adding too much flour. Use your hands to feel the texture—if it clings to your fingers but isn’t a complete mess, you’re on the right track!
Tips for Creating a Perfect Crust
A beautiful crust can elevate your bread dramatically. For a crusty finish, preheat your oven to at least 450°F (232°C) and place a pan of water at the bottom. This steam helps develop that golden crust you love. Also, consider scoring your dough before baking; it gives your bread room to expand and adds visual appeal.
Storage Tips to Keep Your Bread Fresh
To keep your bread tasting fresh longer, store it in a paper bag at room temperature. Plastic bags can make your crust chewy, but linen or cotton bags allow the crust to breathe. If you want to enjoy it later, slice your bread and freeze individual pieces—this way, you can easily toast a slice whenever the craving hits!
For more insights into bread storage methods, check out resources from King Arthur Baking.
Serving Suggestions for Artisan Bread
Best spreads and toppings for enjoying your bread
To truly savor your artisan bread recipe, consider complementing it with delightful spreads and toppings. Here are some flavorful suggestions:
- Creamy butter: A classic choice that never disappoints. Try flavored options like garlic or herb-infused butter for an extra kick.
- Avocado: Mash it up with a hint of lime, salt, and pepper for a nutritious and creamy topping.
- Hummus: Perfect as a dip or spread, hummus adds a burst of flavor and pairs beautifully with whole grain loaves.
- Nut butters: Almond or cashew butter provide a rich, satisfying contrast to the bread’s crusty exterior.
- Turkey bacon bits: For protein lovers, topping your bread with crispy turkey bacon adds a savory crunch.
Pairing homemade bread with soups and salads
You can elevate your meals by serving your artisan bread recipe alongside a hearty soup or a fresh salad. Consider these combinations:
- Tomato soup: This classic duo is comforting and warms the soul. The bread can be dipped or used to soak up the delicious broth.
- Chili: A robust chili pairs perfectly with a slice of your artisan bread, balancing the spicy flavors with its airy texture.
- Garden salad: A light salad topped with fresh veggies and a simple vinaigrette provides a crunchy contrast to the soft bread.
These pairings not only enhance flavors but also make for a satisfying meal. For more ideas on delicious recipes, check out BBC Good Food for creative soup recipes.
Time Breakdown for Artisan Bread
Preparation Time
Getting started with this artisan bread recipe requires about 20-30 minutes of hands-on time. You’ll be mixing flour, water, salt, and yeast to create a beautiful dough. Don’t rush this step; it sets the stage for the wonderful flavors to come.
Rise Time
Now comes the exciting part! The dough needs to rise for about 2 hours. This is when the magic happens—the yeast works its wonders, creating the texture and flavor that artisan bread is known for. You can use this time to tidy up your kitchen or even prepare your favorite beef or chicken ham toppings.
Baking Time
Baking takes about 30-40 minutes. Preheat your oven to the right temperature while keeping an eye on the bread as it transforms into a golden masterpiece. You’ll be greeted with a delightful aroma that will make your kitchen the coziest spot in the house.
Total Time Overview
In total, you’re looking at approximately 3 hours from start to finish, including baking. While it may seem like a longer process, the results are well worth the wait. Plus, spending time with artisan bread can be both meditative and rewarding. So, grab that apron, and let’s embark on this culinary journey together!
Nutritional Facts for Artisan Bread
Calories and Macronutrient Breakdown
When you indulge in an artisan bread recipe, you’ll find it’s more than just delicious—it offers a balanced blend of macronutrients. A typical slice contains approximately 80-100 calories, providing around:
- Carbohydrates: 15-20g
- Protein: 3-4g
- Fat: 1-2g
These numbers can vary slightly based on the specific ingredients you use, but rest assured, artisan bread is a wholesome addition to your meals.
Fiber Content and Health Benefits
One of the standout features of artisan bread is its fiber content. Depending on the flour used, you can gain about 1-2g of fiber per slice. This not only supports digestion but can also help in managing blood sugar levels (as noted by the American Heart Association). The presence of whole grains can lead to reduced cholesterol and improved heart health. So next time you savor a slice, remember—you’re fueling your body with something beneficial.
Are you ready to bake your own artisan bread and reap these health benefits?
FAQs about Artisan Bread
How can I tell if my dough has risen enough?
Determining if your dough has risen properly is simpler than you might think! A well-risen dough should roughly double in size. One easy test is the poke test: gently poke the dough with your finger. If the indentation remains, your dough is ready. If it springs back quickly, it needs more time. For more detailed techniques on dough rising, check out this resource on baking basics.
What should I do if my bread is too dense?
If your bread turns out too dense, don’t be discouraged! Here are some common culprits and fixes:
- Under-kneading: Your gluten might not be developed enough. Try kneading the dough longer next time to create a better structure.
- Incorrect flour measurements: Always ensure to measure flour accurately—too much can lead to dense bread. Consider using a kitchen scale for precise measurements.
- Old yeast: Fresh yeast is crucial for a good rise. Check the expiration date before starting your artisan bread recipe to ensure it’s active.
Can I use whole grain flour?
Absolutely! Whole grain flour adds a hearty texture and nutritional boost to your artisan bread. However, it can absorb more water than all-purpose flour, so it’s best to adjust your liquid ingredients by adding a bit more. This adjustment helps maintain the right dough consistency. For insights into using different flours, visit American Grain for expert advice.
Baking artisan bread is part science, part art—so don’t hesitate to experiment and find what works best for you!
Conclusion on Artisan Bread
Embracing the simplicity and joy of homemade bread
There’s something truly special about crafting your own artisan bread. The process is not just about following a recipe; it’s about creating a moment of connection with your food. Each loaf you bake represents your unique touch, and each slice tells a story. As you knead the dough and smell it rising, you’re not just making bread; you’re savoring life’s simple pleasures.
Imagine biting into a warm slice of freshly baked artisan bread—the crust crackling beneath your fingers. Whether enjoyed with butter or paired with your favorite spreads, the joy of homemade bread is unmatched. So, roll up your sleeves, and infuse your kitchen with love—your artisan bread recipe awaits! For further inspiration, consider visiting King Arthur Baking or America’s Test Kitchen for in-depth guides and expert tips.
Print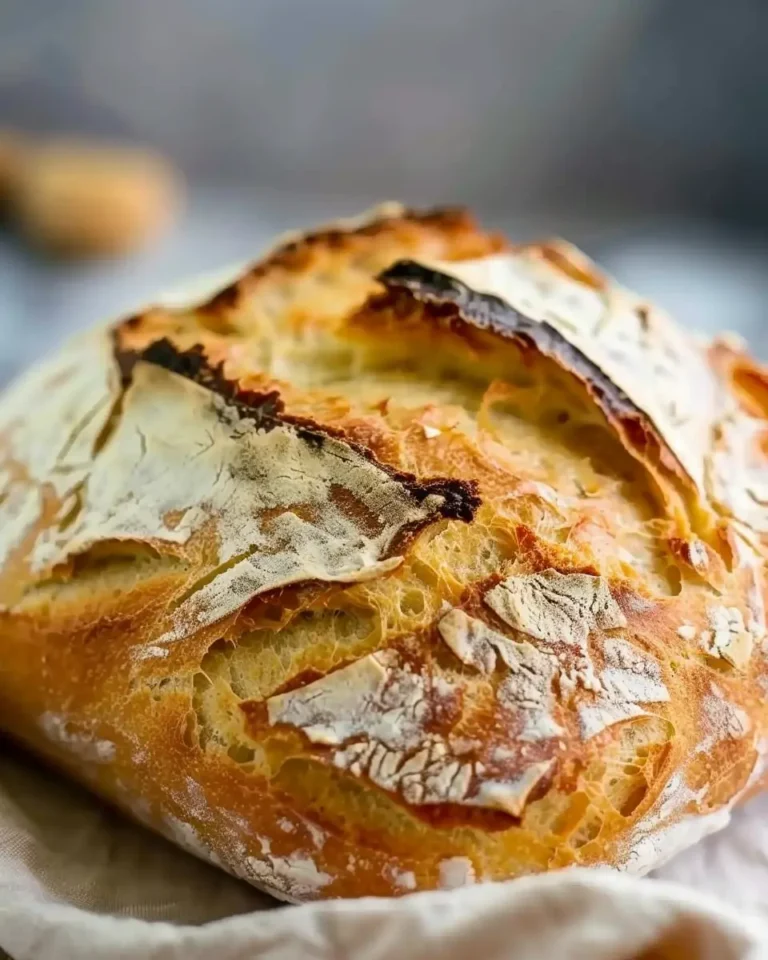
Artisan Bread Recipe: The Best Homemade Loaf You’ll Ever Make
This artisan bread recipe will guide you through making the best homemade loaf you’ve ever tasted, with a perfect crust and soft interior.
- Total Time: 12 hours 60 minutes
- Yield: 1 large loaf 1x
Ingredients
- 3 cups all-purpose flour
- 1 1/2 teaspoons salt
- 1/2 teaspoon instant yeast
- 1 1/2 cups water
Instructions
- In a large bowl, mix the flour, salt, and yeast together.
- Stir in the water until a shaggy dough forms.
- Cover the bowl with plastic wrap and let it rest at room temperature for 12 to 18 hours.
- After the dough has risen, turn it out onto a floured surface and shape it into a ball.
- Let it rest for about 30 minutes while you preheat the oven to 450°F (232°C).
- Place the dough into a hot Dutch oven and cover it with the lid.
- Bake for 30 minutes covered, then for another 15 minutes uncovered until golden brown.
- Let the bread cool on a wire rack before slicing.
Notes
- For a more crusty bread, bake with steam.
- Experiment with different flours for varied flavors.
- Prep Time: 15 minutes
- Cook Time: 45 minutes
- Category: Bread
- Method: Baking
- Cuisine: American
- Diet: Vegetarian
Nutrition
- Serving Size: 1 slice
- Calories: 120
- Sugar: 0.5g
- Sodium: 200mg
- Fat: 0.5g
- Saturated Fat: 0g
- Unsaturated Fat: 0g
- Trans Fat: 0g
- Carbohydrates: 25g
- Fiber: 1g
- Protein: 4g
- Cholesterol: 0mg
Keywords: Artisan Bread Recipe, homemade bread, easy bread recipe