Introduction to Garlic Bread Rolls
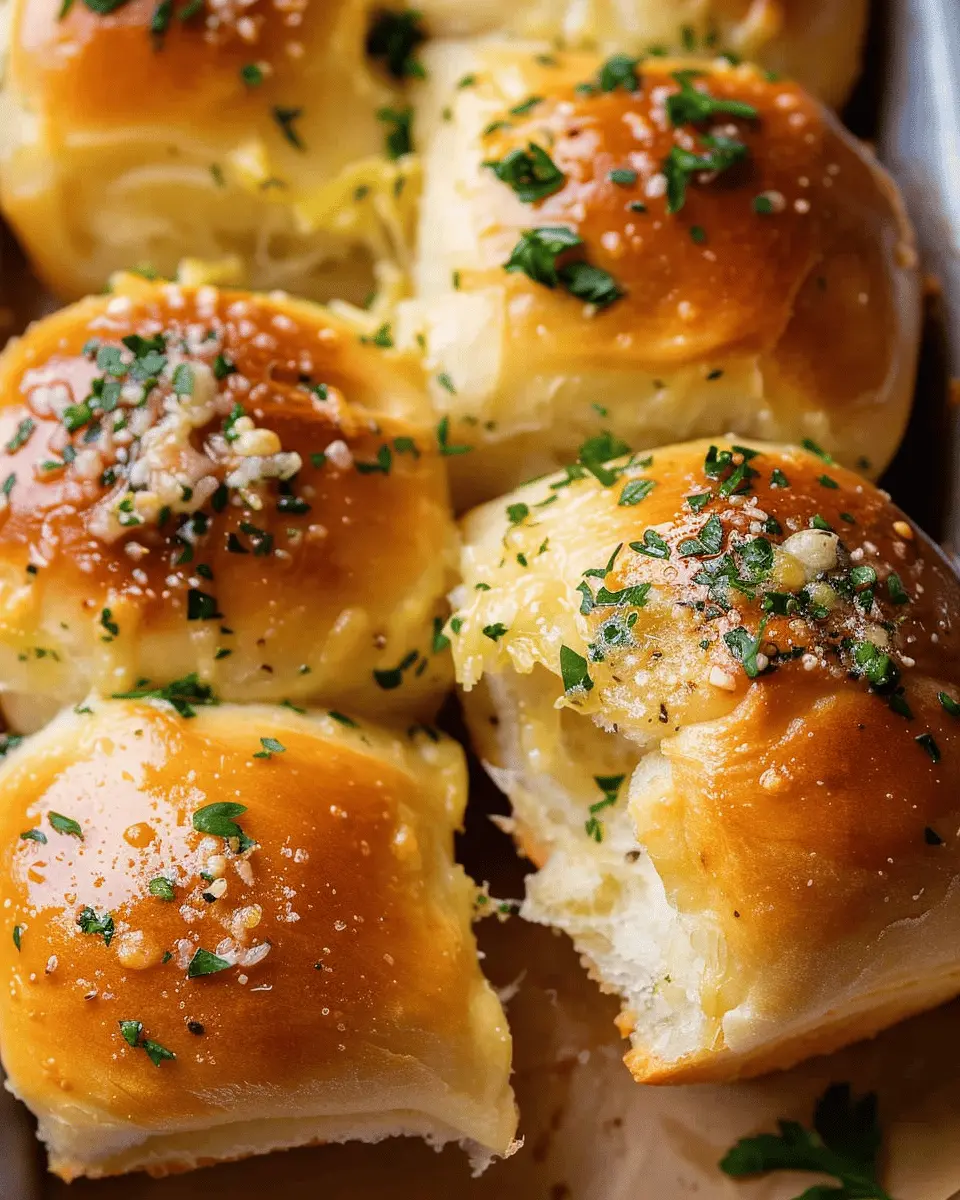
There’s nothing quite like the aroma of freshly baked garlic bread rolls wafting through your kitchen. Picture this: after a long day at work, you come home, and with just a few simple ingredients, you can transform your evening. These rolls are not just a side dish; they’ve become a comforting indulgence that can elevate even the simplest of dinners. But what really makes homemade garlic bread rolls stand out for young professionals?
Why Homemade Garlic Bread Rolls Are the Best Choice for Young Professionals
As a busy professional, convenience is key. But when it comes to food, convenience doesn’t have to mean sacrificing flavor or quality. Here’s why whipping up a batch of garlic bread rolls at home is a fantastic choice:
- Quick Preparation: With minimal prep time, you can have them ready in about 30 minutes. Ideal for those nights you want to impress while managing a packed schedule.
- Customization: Tailor them to your taste! Add herbs, spices, or cheese to make them uniquely yours. You can even swap in ingredients like Turkey Bacon or Chicken Ham for a savory twist.
- Healthy Options: Control the ingredients. Focus on using fresh garlic, real butter, and whole wheat flour for a healthier alternative. You can also explore recipes that offer gluten-free options, making it suitable for all dietary preferences.
Why settle for store-bought when you can have homemade? A recent study highlighted that preparing meals at home can save you nearly 30% compared to dining out (source: USDA). Plus, cooking at home allows you to incorporate nutritious, wholesome ingredients, making your garlic bread rolls not just delicious, but also healthier.
Moreover, making these rolls could turn into a fun ritual. Invite friends over for a cooking night, or even enjoy some solo time experimenting with new flavors.
So, next time you’re planning dinner, don’t just think about the main course—let the garlic bread rolls take center stage! They’re easy to prepare and will bring comfort and satisfaction to your busy life. Stay tuned for our detailed recipe that will guide you step by step in creating this delightful treat at home.
Ingredients for Garlic Bread Rolls
Essential ingredients for the perfect garlic bread rolls
Making irresistible garlic bread rolls starts with the right ingredients. Here’s what you’ll need:
- Fresh Bread Dough: You can use store-bought dough for convenience or make your own from scratch for that artisanal touch.
- Garlic: Fresh cloves are best for that bold flavor. Mince or crush them to release their natural oils.
- Butter: Unsalted is preferred so you can control the saltiness. It adds richness and moisture.
- Parsley: Fresh parsley not only adds a pop of color but also a hint of freshness that balances the garlic.
- Grated Cheese: Mozzarella or Parmesan gives these rolls a gooey, delicious finish.
- Salt and Pepper: A pinch of each enhances the flavors without overwhelming them.
With this simple list, you’re on your way to creating delicious garlic bread rolls that pair perfectly with pasta or soups. For more tips on ingredient selection, take a look at this culinary resource. Happy baking!
Step-by-step Preparation of Garlic Bread Rolls
Garlic bread rolls are a delightful addition to any meal, perfect for soaking up sauces, adding flavor, and, let’s be honest, a bit of indulgence! If you’re eager to impress your friends or family with homemade bread that fills the kitchen with mouthwatering aromas, you’ve landed in the right spot. Let’s jump into the easy preparation steps, starting with the essentials.
Gather your ingredients
Before we start, let’s get organized! Having all your ingredients at hand helps streamline the process and makes baking more enjoyable. Here’s what you’ll need for your garlic bread rolls:
-
For the dough:
-
4 cups all-purpose flour
-
1 packet (2 ¼ teaspoons) active dry yeast
-
1 teaspoon sugar
-
1 teaspoon salt
-
1 ½ cups warm water (about 110°F/43°C)
-
3 tablespoons olive oil
-
For the garlic butter:
-
½ cup unsalted butter (softened)
-
4-5 cloves of garlic (minced)
-
2 tablespoons fresh parsley (chopped, or substitute dried)
-
¼ teaspoon salt
Once your ingredients are gathered, it’s time to get mixing!
Prepare the garlic butter mixture
This step is all about flavor! In a small bowl, combine the softened butter, minced garlic, parsley, and salt. You’ll want to mix it until it forms a smooth, spreadable consistency. This garlic butter will be the star of our rolls, so don’t be shy with the garlic! Feel free to adjust the quantity based on your preference—after all, who doesn’t love a garlicky punch?
Mix the dry ingredients
Grab a large mixing bowl and combine the all-purpose flour, sugar, salt, and yeast. If you’re curious about how yeast works, it feeds on sugar and produces carbon dioxide, which helps your bread rise. Mixing these dry ingredients evenly ensures the yeast distributes well when you add the wet ingredients later. Plus, it’s a perfect opportunity to get your hands a little messy!
Combine wet and dry ingredients
Now it’s time to bring your ingredients together! Slowly add the warm water and olive oil to the dry mixture, stirring until a shaggy dough forms. Don’t worry if it looks a bit rough at this stage; that’s exactly what you want. Just imagine those warm rolls coming out of the oven!
Knead the dough and let it rise
Place the dough on a floured surface and knead for about 8-10 minutes until it becomes smooth and elastic. This step is crucial as it develops gluten, giving your rolls that chewy texture we love. Once you’re done, shape the dough into a ball and place it in a greased bowl, covering it with a clean kitchen towel. Let the dough rise in a warm place until it doubles in size, which usually takes about 1 hour.
Shape the rolls and place them in the pan
Once your dough has risen beautifully, punch it down to release the air. Divide it into equal portions (about 12-16 pieces works well), and shape each piece into a tight ball. Arrange the rolls in a greased baking pan, leaving a small space between each roll for them to expand.
Bake the garlic bread rolls
Now, the moment you’ve been waiting for! Preheat your oven to 375°F (190°C). Before baking, brush the rolls with your prepared garlic butter mixture. Place the pan in the oven and bake for 20-25 minutes, or until golden brown and your kitchen smells amazing! Once baked, let them cool slightly before serving.
There you have it—delicious homemade garlic bread rolls ready to impress at your next gathering! So, will you be making these fluffy delights the star of your dinner table? You can enjoy them plain, or they can serve as a lovely accompaniment to pastas or soups. Happy baking!
Variations of Garlic Bread Rolls
Garlic bread rolls are a delightful side dish that can take any meal to the next level. But did you know there are many ways to jazz them up? Let’s explore a couple of delicious variations that are sure to impress your family and friends.
Cheese-Stuffed Garlic Bread Rolls
Imagine biting into a fluffy garlic roll, only to discover a gooey, melted cheese center! Cheese-stuffed garlic bread rolls are perfect for cheese lovers and add a delightful surprise. To make these, simply prepare your garlic roll dough, and before shaping it into rolls, place a small cube of cheese — think mozzarella or cheddar — in the center of each piece. Seal the dough around the cheese ensuring it’s well-enclosed. Bake as usual, and enjoy the glorious combination of garlic and melted cheese in every bite. For something special, consider adding a sprinkle of crushed red pepper flakes for a hint of heat.
Herb-Infused Garlic Rolls
If you’re looking to elevate your garlic bread rolls, infusing them with fresh herbs is a fantastic option. Consider mixing chopped rosemary, thyme, or parsley into your garlic butter before brushing it on. Not only does this add a refreshing twist, but it also infuses your rolls with delightful flavors. These herb-infused garlic rolls pair wonderfully with Italian dishes or can stand alone as a flavorful appetizer. You can also experiment with dried herbs if fresh ones aren’t available.
These variations of garlic bread rolls can turn a simple side into a culinary experience. Try these ideas during your next gathering, and watch everyone rave about your delicious creations! For more inspirations, visit resources like Serious Eats.
Cooking Tips and Notes for Garlic Bread Rolls
Tips for Perfecting the Dough
Creating the perfect garlic bread rolls hinges largely on your dough. Here are some handy tips to ensure success:
- Knead it Well: Don’t rush the kneading process. Aim for at least 8-10 minutes until the dough is smooth and elastic. This develops the gluten and gives your rolls that delightful chewy texture.
- Let it Rise: Be patient and allow your dough to rise in a warm place until it doubles in size. This could take about an hour, but the wait is worth it!
- Experiment with Flavors: Feel free to add herbs like oregano or basil to your dough for extra flavor.
Importance of Measuring Ingredients Accurately
Precision in ingredient measurement can make or break your garlic bread rolls. Even a slight imbalance can affect texture and taste:
- Use a Kitchen Scale: For best results, consider weighing your flour and other ingredients. The USDA suggests that precise measurements can enhance the quality of baked goods.
- Follow the Recipe: Each ingredient plays a critical role—trust the recipe and don’t improvise too much on the first try.
By incorporating these tips, you’re well on your way to making irresistible garlic bread rolls that everyone will love! For more on baking basics, check out this comprehensive guide to bread making.
Serving Suggestions for Garlic Bread Rolls
Best pairings for garlic bread rolls
Garlic bread rolls are the ultimate comfort food, and they shine brightest when enjoyed with your favorite dishes. Here are some great pairings that will elevate your meal:
- Pasta Dishes: Think spaghetti marinara or creamy fettuccine alfredo. The buttery garlic flavor complements the richness of the sauce beautifully.
- Soups: A hearty minestrone or classic tomato basil soup pairs perfectly, adding a delightful crunch to every spoonful.
- Salads: Enjoy your rolls alongside a crisp Caesar or Greek salad. The contrasting textures make for a satisfying meal.
Did you know that garlic can boost your immune system? For more on this, check out NutritionFacts.org.
Creative ways to enjoy garlic bread rolls
Why stick to tradition? There are so many creative avenues to explore with garlic bread rolls. Here are some fun ideas to consider:
- Breakfast Topping: Try spreading a layer of cream cheese and adding slices of turkey bacon for a unique breakfast twist.
- Mini Sliders: Use the rolls as the base for mini beef or chicken ham sliders. Just load them up with your favorite toppings!
- Dippable Appetizer: Serve the rolls warm with a side of pesto or marinara for a delightful pre-meal snack your guests will love.
Remember, food should always be fun! Explore these ideas and let your garlic bread rolls become the star of your table.
Time Breakdown for Garlic Bread Rolls
Understanding the time commitment for garlic bread rolls can help you plan your meals effectively.
Preparation Time
The prep time for these delightful rolls is about 15 minutes. This includes gathering your ingredients and mixing the dough. Quick tip: having your ingredients ready makes the process smoother and more enjoyable!
Rising Time
Allow about an hour for the dough to rise. This step is crucial as it gives your rolls that fluffy texture we all love. Find a warm place in your kitchen, and maybe use this time to catch up on your favorite podcast.
Baking Time
The baking process takes around 20 minutes. Keep an eye on those golden-brown tops; you want them perfectly baked!
Total Time
From prep to table, you’re looking at approximately 1 hour and 35 minutes in total. Trust me, the delightful aroma and taste of these garlic bread rolls will be well worth the wait! For more tips on perfecting your baking, you can check out King Arthur Baking for expert insights.
Nutritional Facts for Garlic Bread Rolls
Calories per roll
When savoring these delicious garlic bread rolls, you’ll find that each roll typically contains around 150-200 calories. This makes them a delightful addition to your meal without overly straying from your dietary goals. For those tracking their caloric intake, these rolls can be a delicious treat that won’t break the bank.
Key nutrients you can expect
These bite-sized rolls are not just about satisfying your cravings. They also provide some essential nutrients:
- Carbohydrates: They are primarily made from flour, offering a quick source of energy.
- Fats: Depending on the butter and oil used, expect a modest amount of healthy fats.
- Protein: A bit of protein from the bread and any additional toppings you choose, like turkey bacon or herbs.
- Vitamins and minerals: Garlic is known for its health benefits, including potential immune system support.
For more detailed nutritional insights, check out USDA Nutrition for comprehensive data on ingredients you might use. Make sure to enjoy these garlic bread rolls as part of a balanced diet, and feel free to experiment with toppings for added flavor!
FAQs about Garlic Bread Rolls
Can I use whole wheat flour for garlic bread rolls?
Absolutely! Garlic bread rolls can be made with whole wheat flour for a healthier twist. The whole wheat will give your rolls a nuttier flavor and a denser texture. However, be prepared for a slightly different rise compared to the usual all-purpose flour. You might find that adjusting the amount of liquid can help achieve the desired dough consistency. If you’re curious, check out this resource on whole wheat baking for tips and tricks!
How do I store leftover garlic bread rolls?
Leftover garlic bread rolls can be your cozy companion for days! To store them, let the rolls cool completely before placing them in an airtight container. They can last for 2-3 days on the kitchen counter or up to a week in the fridge. If you want to keep them longer, pop them in the freezer, where they can last for up to three months. Just make sure to wrap them well in plastic wrap or foil. When you’re ready to enjoy them again, reheat briefly in the oven for that freshly baked taste.
What can I serve with garlic bread rolls?
The versatility of garlic bread rolls opens up a world of pairing possibilities. They make a delightful side for:
- Soups: Try them with creamy tomato or hearty minestrone.
- Salads: Pair with a fresh caesar or mixed greens.
- Spaghetti: A classic match with any pasta dish.
- Dips: Serve alongside marinara, hummus, or spinach artichoke dip for a savory snack.
Garlic bread rolls can elevate almost any meal, so let your culinary creativity flow! For more ideas, consider exploring these tasty recipes.
By incorporating these tips, you’ll not only master the art of garlic bread rolls but also make the most out of every delicious bite!
Conclusion on Garlic Bread Rolls
Wrap-up on the joys of making garlic bread rolls at home
Making garlic bread rolls at home is more than just baking; it’s an experience that fills your kitchen with warmth and delectable aromas. There’s something so fulfilling about kneading dough and infusing it with the rich flavor of garlic and butter, tailored to your personal taste.
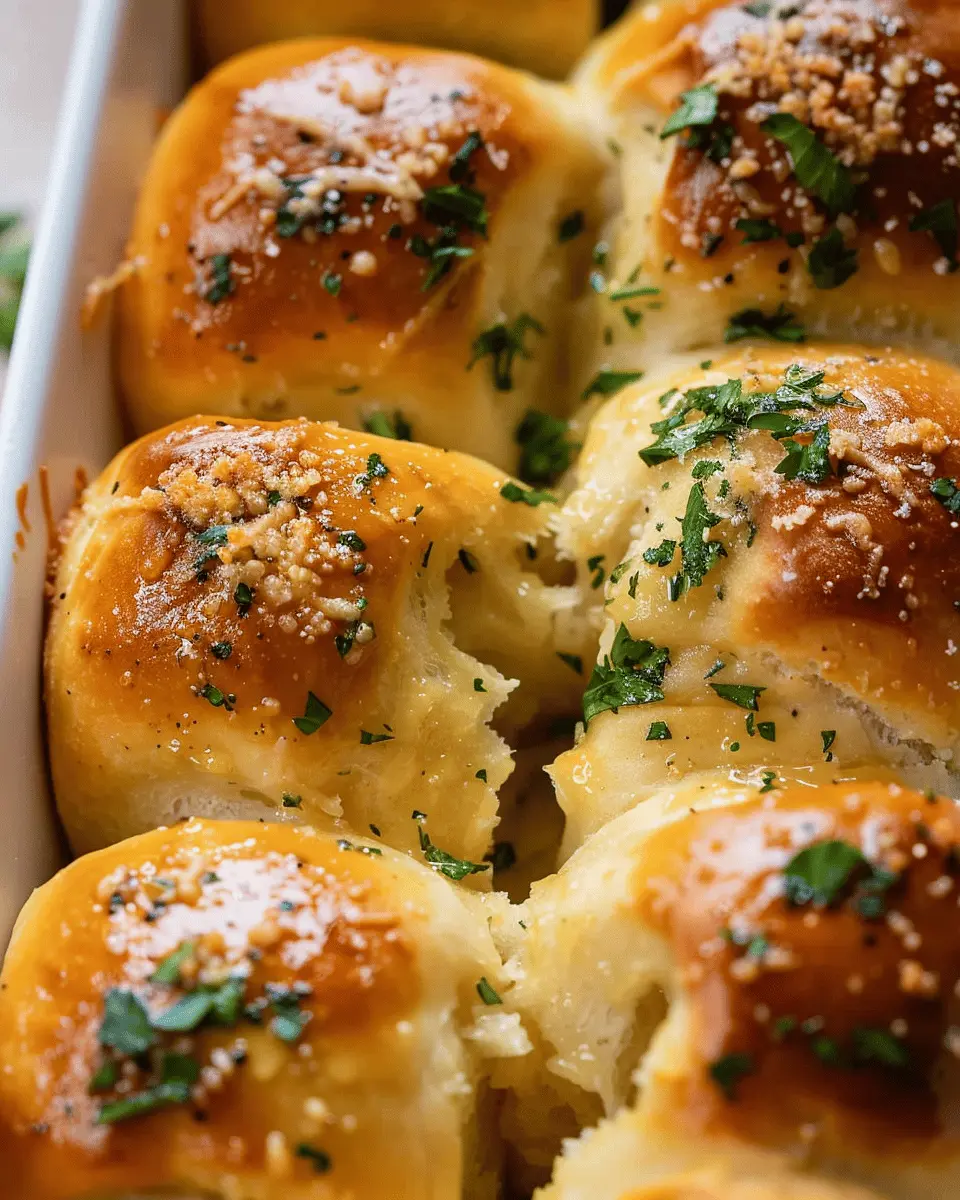
As you pull the golden-brown rolls from the oven, you’ll likely realize you’ve created a crowd-pleaser that pairs perfectly with soups, salads, or even as a snack on its own.
So why not gather your friends and have a little garlic bread roll-making party? Check out this guide from Bon Appétit for tips on hosting the perfect cooking night. With a little bit of patience and practice, you’ll be a garlic bread roll expert in no time!
Print
Garlic Bread Rolls: Easy Homemade Delight for Any Meal
Garlic bread rolls are a delightful accompaniment to any meal, providing a burst of flavor that elevates your dining experience.
- Total Time: 1 hour 35 minutes
- Yield: 12 rolls 1x
Ingredients
- 4 cups all-purpose flour
- 1 tablespoon instant yeast
- 2 teaspoons sugar
- 1 teaspoon salt
- 1 ½ cups warm water
- ½ cup unsalted butter, melted
- 4 cloves garlic, minced
- ¼ cup fresh parsley, chopped
- 1 cup shredded mozzarella cheese
Instructions
- In a large bowl, combine flour, yeast, sugar, and salt.
- Add warm water gradually and mix until a dough forms.
- Knead the dough on a floured surface for about 10 minutes until smooth.
- Place the dough in a greased bowl, cover, and let rise for 1 hour.
- Preheat the oven to 375°F (190°C).
- Punch down the dough and divide it into rolls.
- In a small bowl, mix melted butter, minced garlic, and parsley.
- Brush the garlic mixture on the rolls and sprinkle with cheese.
- Place rolls on a baking sheet and let rise for another 30 minutes.
- Bake in the preheated oven for 15-20 minutes or until golden brown.
Notes
- For added flavor, you can sprinkle some Italian seasoning over the rolls before baking.
- Serve warm for the best taste.
- Prep Time: 15 minutes
- Cook Time: 20 minutes
- Category: Bread
- Method: Baking
- Cuisine: Italian
- Diet: Vegetarian
Nutrition
- Serving Size: 1 roll
- Calories: 180
- Sugar: 1g
- Sodium: 300mg
- Fat: 8g
- Saturated Fat: 5g
- Unsaturated Fat: 2g
- Trans Fat: 0g
- Carbohydrates: 22g
- Fiber: 1g
- Protein: 4g
- Cholesterol: 15mg
Keywords: Garlic Bread Rolls, Homemade Garlic Bread