1. Intrduction to Homemade Bread
In recent years, homemade bread has seen a major resurgence. With people spending more time at home and seeking healthier, more fulfilling activities, baking bread has become more than just a kitchen task—it’s a creative, rewarding experience. There’s a growing appreciation for traditional skills and a move away from overly processed store-bought foods. More and more, home bakers are realizing that making bread from scratch connects them to simpler times, offering a satisfying sense of accomplishment that few modern conveniences can match.
There are several compelling reasons why baking bread at home is worth the effort:
-
Healthier Ingredients: Homemade bread allows you to avoid additives and preservatives commonly found in commercial loaves. You have full control over what goes into your bread, making it easier to align with a healthy diet. According to Harvard Health, choosing the right ingredients can significantly improve the nutritional quality of your bread.
-
Customization: Whether you want a rustic sourdough, a sweet cinnamon swirl loaf, or a hearty multigrain bread, making your own lets you tailor recipes to your taste. You can experiment with flours, seeds, and even fermentation techniques. Learning about the science of bread making helps you better understand how to perfect the texture and flavor of your creations.
-
Cost Savings: While artisanal breads can cost several dollars per loaf, homemade versions are often much cheaper. A basic loaf requires only a few pantry staples—flour, yeast, water, and salt—making it a budget-friendly way to enjoy premium-quality bread every day.
2. Essential Ingredients for Homemade Bread
Making homemade bread begins with just a few simple yet essential ingredients. Each component plays a crucial role in achieving the perfect loaf.
-
Flour: The type of flour you use can greatly impact your bread. Bread flour has a higher protein content, which strengthens gluten and gives bread more chew and structure. All-purpose flour works too, offering a softer texture. Understanding how protein affects dough texture is a key part of the science of bread making.
-
Yeast: Yeast is the living organism that makes your bread rise. Active dry yeast needs to be dissolved in water before using, while instant yeast can be mixed directly into your flour. Both create air pockets that give bread its lightness.
-
Salt, Water, and Optional Additions: Salt controls yeast fermentation and enhances flavor. Water binds all the ingredients together and activates gluten. Optional ingredients like honey for sweetness or olive oil for tenderness can be added to personalize your bread even further.
3. Understanding the Bread-Making Process
The bread-making process is a series of carefully timed steps that transform simple ingredients into a beautiful loaf.
-
Mixing and Kneading: Mixing combines the ingredients into a dough. Kneading develops the gluten network essential for trapping gas bubbles, giving the bread its structure.
-
Proofing: Proofing is the resting period where yeast ferments the dough, producing carbon dioxide. Proper proofing is critical; too little and your bread will be dense, too much and it could collapse. Mastering fermentation is crucial, and as explained in the science of bread making, fermentation timing directly affects flavor and texture.
-
Baking: Baking sets the final structure. A high-temperature oven creates an oven spring—an initial rapid rise—before the crust hardens. Choosing the right baking method is part of creating the perfect loaf.
By understanding each stage, you not only improve your bread’s quality but also start mastering the timeless craft of baking homemade bread.
4. Necessary Tools for Homemade Bread
While you can make homemade bread with just your hands and a bowl, having the right tools can dramatically improve your results and make the process easier.
-
Stand Mixer: A stand mixer fitted with a dough hook saves time and effort, especially when working with heavier doughs. It ensures thorough kneading, which is critical for strong gluten development. Understanding how proper kneading affects your final loaf ties back to the science of bread making.
-
Bread Pans: For sandwich-style loaves, a sturdy bread pan helps shape the dough and ensures even baking. Choosing the right size pan prevents issues like uneven rising or dense crumbs.
-
Proofing Baskets: Also called bannetons, proofing baskets are used for artisan-style breads. They support the dough during its final rise and help create that rustic, beautiful crust.
-
Kitchen Scale: Precision matters. A kitchen scale ensures accurate ingredient measurements, leading to consistent results every time. Measuring by weight, not volume, aligns with professional baking standards as emphasized in the best practices for making healthier homemade breads.
Having the right tools sets you up for success and makes bread baking at home not just easier, but also far more rewarding.
5. Easy Homemade Bread Recipe (Step-by-Step)
Baking your first homemade bread doesn’t have to be intimidating. This beginner-friendly recipe keeps it simple while delivering delicious, satisfying results.
-
-
Ingredient List:
-
3 ½ cups bread flour (or all-purpose flour)
-
2 ¼ teaspoons instant yeast (or one packet)
-
1 ½ teaspoons salt
-
1 ¼ cups warm water (about 110°F)
-
1 tablespoon honey (optional, for slight sweetness)
-
1 tablespoon olive oil (optional, for a softer crumb)
Learning about how ingredients like flour type and yeast affect the final bread texture can deepen your understanding of the science of bread making, helping you troubleshoot and improve over time.
Instructions:
-
Step 1: Mix the Dough
In a large bowl, combine the flour, yeast, and salt. Add the warm water (and honey or olive oil if using). Mix until a shaggy dough forms. -
Step 2: Knead the Dough
Turn the dough onto a lightly floured surface and knead for about 8–10 minutes until smooth and elastic. If you’re using a stand mixer, knead with the dough hook on medium speed for about 6 minutes. Kneading is critical for developing gluten, which traps gas and creates a chewy texture. This ties into the principles of a strong fermentation process discussed in expert resources like the science behind bread fermentation. -
Step 3: First Proofing
Place the dough in a lightly oiled bowl, cover with a clean towel, and let rise in a warm spot for about 1–2 hours, or until doubled in size. -
Step 4: Shape and Second Proofing
Gently punch down the dough, shape it into a loaf, and place it in a greased bread pan. Cover again and let rise until puffy, about 30–45 minutes. -
Step 5: Bake
Preheat the oven to 375°F (190°C). Bake for 30–35 minutes, or until the top is golden brown and the loaf sounds hollow when tapped. -
Step 6: Cool and Slice
Allow the bread to cool completely on a wire rack before slicing to prevent a gummy texture.
This easy homemade bread recipe lays a solid foundation for anyone looking to build their baking skills at home.
6. Common Mistakes When Baking Bread
Even with a simple recipe, a few common mistakes can affect the quality of your homemade bread. Recognizing these early will help you achieve better, more consistent results.
-
Overproofing: Letting dough rise for too long can cause it to collapse when baked. Overproofed dough loses its structure and results in a dense or deflated loaf. Learning about proper proofing times and monitoring dough carefully is crucial for success. Many guides on the science of bread making emphasize the importance of timing during fermentation.
-
Under-kneading: Kneading builds the gluten network that traps gas and creates a good crumb. If the dough isn’t kneaded enough, it won’t rise properly. This can leave your bread heavy and flat instead of light and airy.
-
Wrong Oven Temperature: Baking at the wrong temperature can cause issues like a hard crust with a raw center or uneven rising. Using an oven thermometer ensures the correct baking environment—a critical factor in achieving a golden, well-baked loaf, as highlighted in professional baking practices.
By being aware of these mistakes, you’ll be much closer to consistently baking beautiful, delicious homemade bread every time.
7. Different Types of Homemade Bread
One of the best parts of baking homemade bread is exploring the many types you can create, each with unique flavors and textures.
-
Sourdough Bread: Made with a naturally fermented starter instead of commercial yeast, sourdough offers a tangy flavor and chewy texture. It requires patience and an understanding of fermentation science to develop properly.
-
Whole Wheat Bread: Using whole wheat flour boosts the bread’s fiber content and provides a nuttier, richer flavor. It’s a healthier option compared to white breads, especially when focusing on ingredients that align with healthy eating guidelines.
-
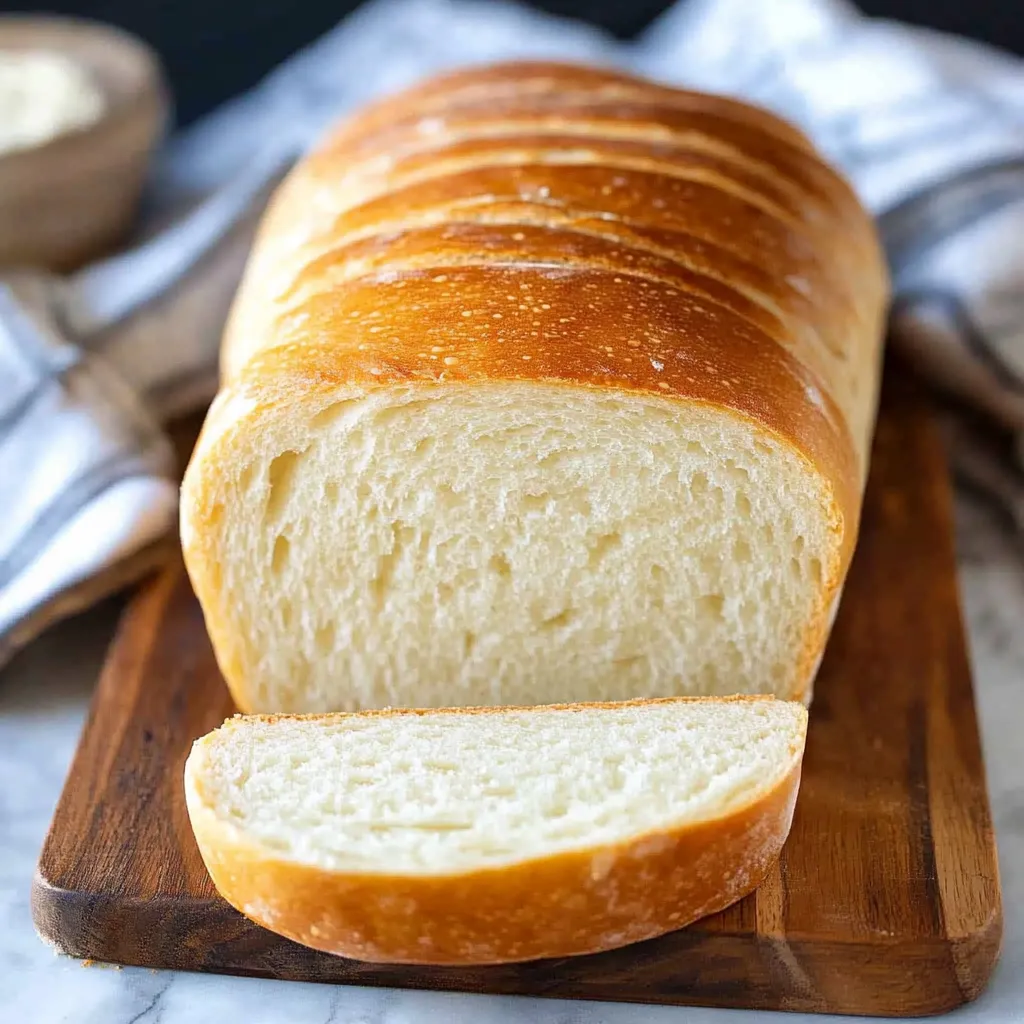
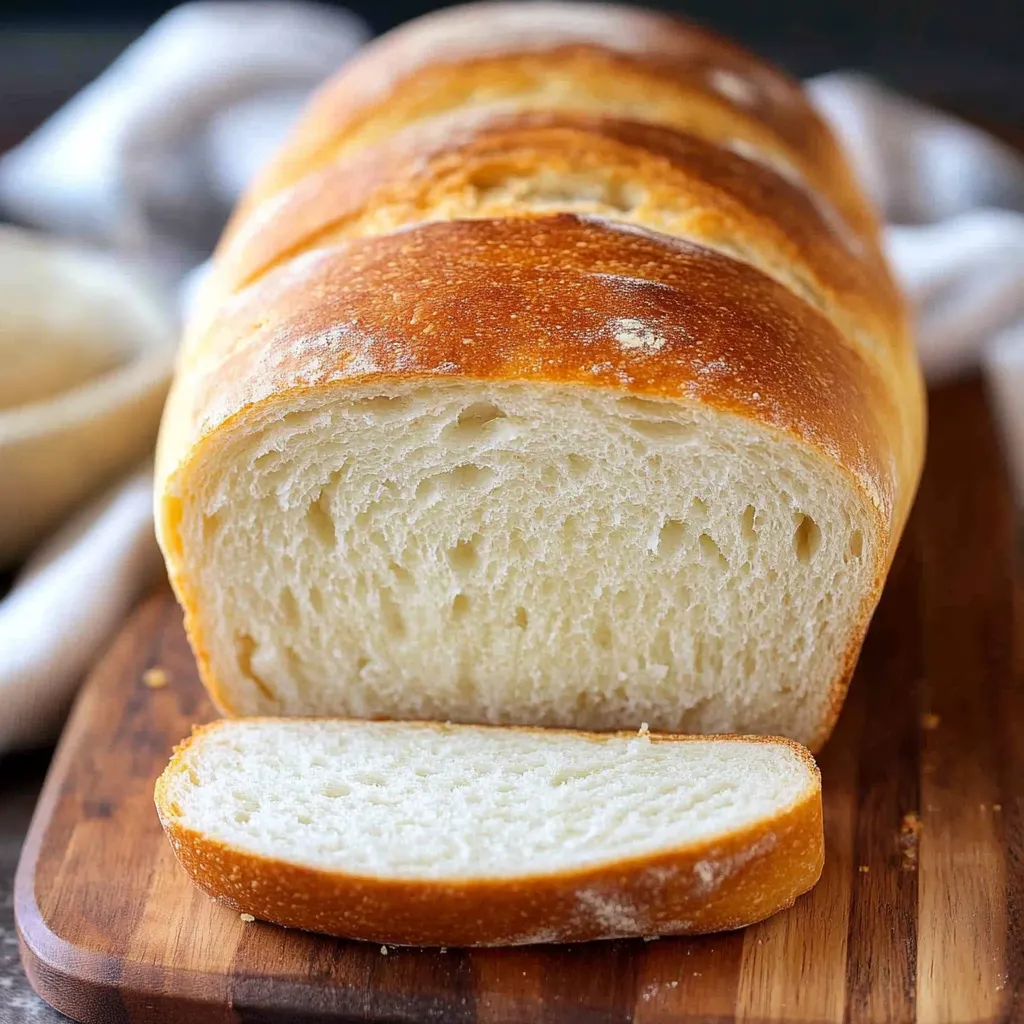
White Sandwich Loaf: Light, fluffy, and perfect for everyday sandwiches, white sandwich bread is a classic that focuses on softness and mild flavor.
-
Artisan Bread: Often baked free-form without a pan, artisan breads have a rustic appearance, crispy crusts, and deep flavor profiles thanks to longer fermentation.
Experimenting with different types allows you to master techniques and discover your personal favorite.
8. How to Customize Your Homemade Bread
One of the greatest advantages of making bread at home is the ability to customize flavors and textures exactly the way you like them.
-
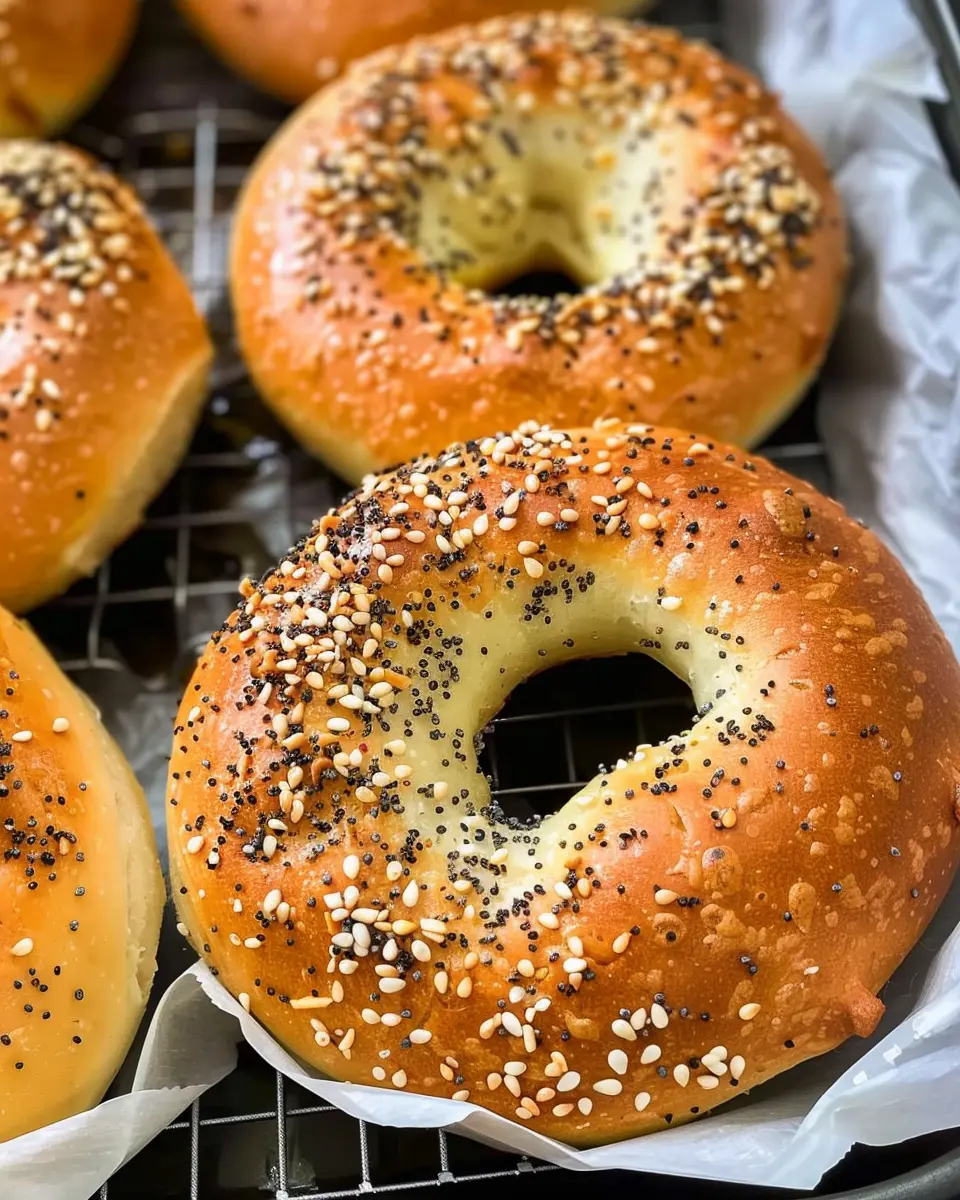
Adding Seeds and Herbs: Mix in sunflower seeds, pumpkin seeds, or sesame seeds for crunch and nutrition. Fresh herbs like rosemary or thyme bring an aromatic, savory depth to your loaves.
-
Incorporating Cheese and Dried Fruits: Folding in shredded cheese, raisins, or cranberries adds bursts of flavor. It’s important to balance these additions to maintain a proper dough structure, something explained in the science of bread making.
-
Gluten-Free Options: For those with dietary restrictions, gluten-free breads can be made using rice flour, almond flour, or oat flour. Gluten-free baking requires careful measurement and handling, making the use of a kitchen scale even more critical to success.
Customizing your homemade bread opens endless possibilities for flavor and creativity, ensuring each loaf is perfectly suited to your taste and lifestyle.
 9. How to Store Homemade Bread Properly
Proper storage is key to keeping your homemade bread fresh and delicious for as long as possible.
-
Best Practices for Freshness: Store bread in a bread box or wrapped in a clean kitchen towel at room temperature. This protects it from drying out without trapping excess moisture, which can cause mold. Learning how to store bread properly can help extend the life of your homemade loaves without sacrificing flavor or texture.
-
Freezing Tips: For longer storage, slice your bread first, then freeze the slices in a zip-top bag with as much air removed as possible. This allows you to grab only what you need without defrosting the entire loaf. Always let frozen slices thaw at room temperature or pop them directly into a toaster for best results.
Using the right storage methods ensures your homemade bread stays fresh, flavorful, and ready whenever you need it.
10. Troubleshooting Homemade Bread Problems
Even experienced bakers encounter issues from time to time when making homemade bread. Understanding the most common problems helps you fix them quickly.
-
Bread Is Too Dense: Dense bread often results from under-kneading or not enough yeast activity. Proper gluten development, achieved by thorough kneading, is essential for a lighter texture. Learning more about fermentation and proofing from trusted baking science resources like King Arthur Baking’s bread science guide can make a big difference.
-
Bread Didn’t Rise: If your dough doesn’t rise, the yeast might be dead or the environment too cold. Make sure your water is the right temperature (around 110°F) and proof in a warm, draft-free area.
-
Crust Issues: A pale crust usually means the oven wasn’t hot enough, while an overly hard crust could result from overbaking. Always preheat your oven and use an oven thermometer to ensure an accurate baking temperature.
By diagnosing problems quickly, you can perfect your process and consistently bake amazing homemade bread.
10. Troubleshooting Homemade Bread Problems
Even if you follow every step, baking homemade bread can sometimes lead to unexpected results. Recognizing the most common problems helps you fix them easily.
-
Bread Is Too Dense: A dense loaf often means the dough was under-kneaded or didn’t rise enough. Proper gluten development is essential to create the light texture that good bread needs. Improving kneading techniques is a big part of mastering the science behind bread texture.
-
Bread Didn’t Rise: Dough that fails to rise is usually caused by inactive yeast or an environment that’s too cold. Always check the expiration date on your yeast and ensure proofing happens in a warm place.
-
Crust Issues: A pale or too-hard crust often comes from baking at the wrong temperature. An oven thermometer helps ensure accuracy, which is crucial for consistent results and a golden, crispy crust.
Troubleshooting empowers you to create consistently better homemade bread every time.
 11. Health Benefits of Homemade Bread
One major advantage of baking bread at home is knowing exactly what goes into it, giving you full control over your ingredients and nutrition.
-
No Preservatives: Unlike most store-bought bread, homemade bread contains no artificial preservatives or additives. This makes it a fresher, more natural choice aligned with healthier eating practices.
-
Control Over Sugar, Salt, and Fats: Baking at home allows you to adjust sugar, salt, and fat content based on your dietary needs. Whether you’re aiming for lower sodium or cutting down on processed sugars, making your own bread gives you the flexibility to create a loaf that supports a healthier lifestyle.
Choosing homemade bread not only improves flavor but also contributes to a cleaner, more nutritious diet.
Frequently Asked Questions (FAQ)
What is the secret to making good homemade bread?
The real secret lies in patience and precision. Allow enough time for the dough to proof properly and make sure you measure ingredients accurately. Using a kitchen scale instead of measuring cups ensures consistency. Understanding the role of gluten development and fermentation, as explained in the science of bread making, can also take your bread to the next level.
Is it cheaper to make bread at home?
Yes, making homemade bread is often much more cost-effective than buying high-quality loaves from bakeries. Basic ingredients like flour, yeast, salt, and water are inexpensive, and with homemade bread, you avoid paying extra for packaging and distribution costs. Plus, you can make multiple loaves for the price of one store-bought artisan bread.
Can I use regular flour instead of bread flour?
You can definitely use all-purpose flour if you don’t have bread flour. However, the final texture might be a bit softer because bread flour has a higher protein content, leading to better gluten development. If you’re looking for a chewier, more structured loaf, using bread flour is recommended.
How long does homemade bread last?
Homemade bread usually stays fresh for about 3 to 4 days when stored properly. Keep it wrapped in a towel or in a bread box at room temperature to maintain freshness. For longer storage, freezing is the best option. Learn more about proper bread storage to extend its shelf life without sacrificing flavor.
Why is my homemade bread so dense?
Dense bread typically points to under-kneading, not enough proofing, or inactive yeast. Ensuring that gluten develops fully during kneading and that yeast is alive and active is crucial. Following guidelines around proofing times found in resources like the bread science guide can help solve this issue.
Do I need a stand mixer to make bread?
No, you don’t need a stand mixer to bake good bread. While a stand mixer makes kneading easier, you can achieve excellent results by kneading by hand. It just takes a bit more time and physical effort but can be a rewarding experience.
How do I know when bread is fully baked?
Fully baked bread has a golden brown crust and sounds hollow when tapped on the bottom. You can also use a thermometer—bread is usually done when its internal temperature reaches about 190°F to 200°F. Consistent oven temperature, as discussed in professional baking methods, ensures proper baking.
Can I make bread without yeast?
Yes, you can make bread without commercial yeast by using baking powder, baking soda, or natural fermentation methods like creating a sourdough starter. While these breads have different textures and flavors, they can be just as delicious and satisfying.
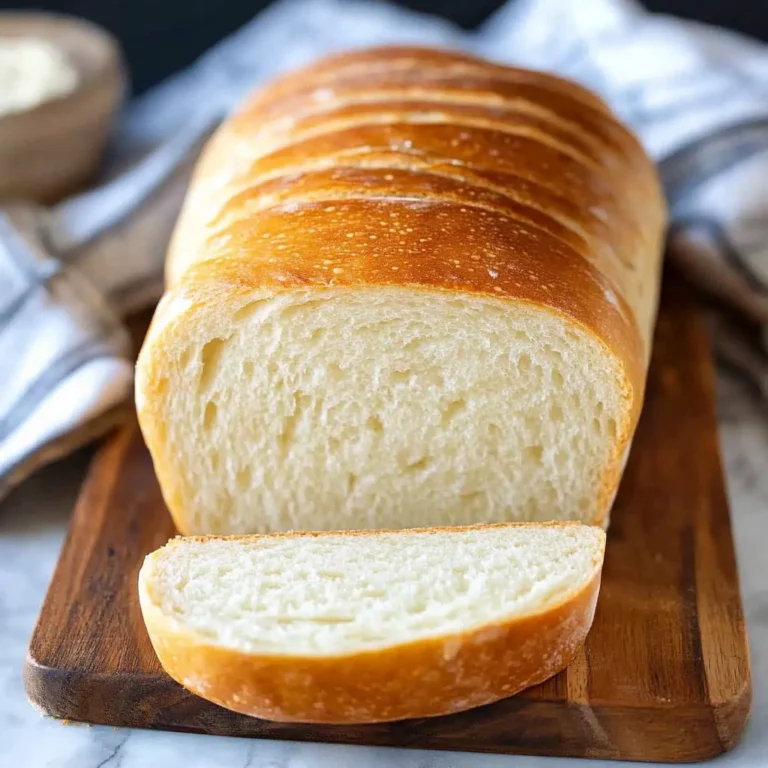
Homemade Bread
A simple, beginner-friendly homemade bread recipe with minimal ingredients for a soft, flavorful loaf. Perfect for daily use.
- Total Time: 2.5–3 hours (including proofing)
- Yield: 1 loaf (about 12 slices)
Ingredients
– 3 ½ cups bread flour (or all-purpose flour)
– 2 ¼ teaspoons instant yeast
– 1 ½ teaspoons salt
– 1 ¼ cups warm water (110°F)
– 1 tablespoon honey (optional)
– 1 tablespoon olive oil (optional)Instructions
1. In a large bowl, mix flour, yeast, and salt.
2. Add warm water (and honey/olive oil if using); mix into a shaggy dough.
3. Knead on a floured surface for 8–10 minutes (or with a stand mixer for 6 minutes).
4. Place dough in a lightly oiled bowl; cover and proof until doubled (1–2 hours).
5. Punch down, shape, and place in a greased bread pan.
6. Proof again for 30–45 minutes.
7. Bake at 375°F for 30–35 minutes until golden brown.
8. Cool completely before slicing.Notes
– If using all-purpose flour, the loaf will be slightly softer.
– Freezing slices individually keeps bread fresh longer.
– For best proofing, place dough in a warm, draft-free environment- Prep Time: 15 minutes
- Cook Time: 30–35 minutes
- Category: Bread
- Method: Baking
- Cuisine: American/European
- Diet: Vegetarian
Nutrition
- Calories: 140 kcal
- Sugar: 1 g
- Sodium: 290 mg
- Fat: 2 g
- Saturated Fat: 0.3 g
- Carbohydrates: 27 g
- Fiber: 1 g
- Protein: 4 g
- Cholesterol: 0 mg
-